
TABLE OF CONTENTS
Overview
Room correction is a process that involves adjusting the audio output of a sound system to compensate for the acoustic characteristics of a specific room, enhancing sound quality and accuracy.
Benefits
- Clearer, More Accurate Sound: Minimizes negative room effects like echoes and standing waves, ensuring your audio closely matches the original recording.
- Acoustic Compensation: Adjusts for sound distortions caused by hard surfaces, odd room shapes, or challenging layouts.
- Balanced Bass Response: Evens out low frequencies to eliminate the muddy, boomy bass caused by room dimensions and furniture.
Room Correction vs. EQ
Room Correction and EQ are both powerful tools that serve different purposes:
- Room Correction is an automatic optimization tool that corrects room acoustics.
- EQ is a manual adjustment tool for fine-tuning your sound.
By combining both, you can achieve a more flexible, balanced, and immersive listening experience with WiiM audio devices. For details, see Understanding the Differences and Relationship Between EQ and Room Correction.
Summary
This summary is here to help you quickly understand and effectively use the RoomFit™ feature.
- Preparations and Instructions: Learn how to set up your room and get important instructions to prevent mistakes before and during calibration. See Preparations and Instructions.
- Step-by-Step Walkthrough: Follow the complete calibration process, learn how to read the acoustic curves, and evaluate your results. See Step-by-Step Guide.
- Troubleshooting and Tips: Find quick fixes for common errors and discover how to boost accuracy using an external microphone or Moving Microphone Measurement (MMM). See Troubleshooting and Tips.
Preparations and Instructions
Before Calibration
- Avoid obstructions around the speakers.
- Set the volume to a moderate level.
- Close doors and windows.
- Keep the room as quiet as possible.
During Calibration
- ALWAYS remove the protective case from your phone.
- ALWAYS hold the phone as far away from your body as possible.
- ALWAYS point the microphone towards the speaker you are currently measuring.
- ALWAYS avoid obstructions between the microphone and the speaker.
- ALWAYS place the microphone at ear level (if you sit while listening, use the height of your ears when seated).
- Ensure the microphone, the listener's ears, and the speaker's acoustic center are approximately at the same height.
- Use an external microphone when available for more accurate calibration results. For details, see Using an External Microphone for RoomFit™.
Step-by-Step Guide
| Steps | Details |
|---|---|
| 1. Open WiiM Home app. | Open the WiiM Home app on your mobile device. |
| 2. Open RoomFit™. | Go to the Devices tab > Device Settings  > RoomFit™. > RoomFit™. |
| 3. Configure parameters. | Tap the icon to open RoomFit™ Settings and configure the parameters to enhance calibration accuracy or match your preferences.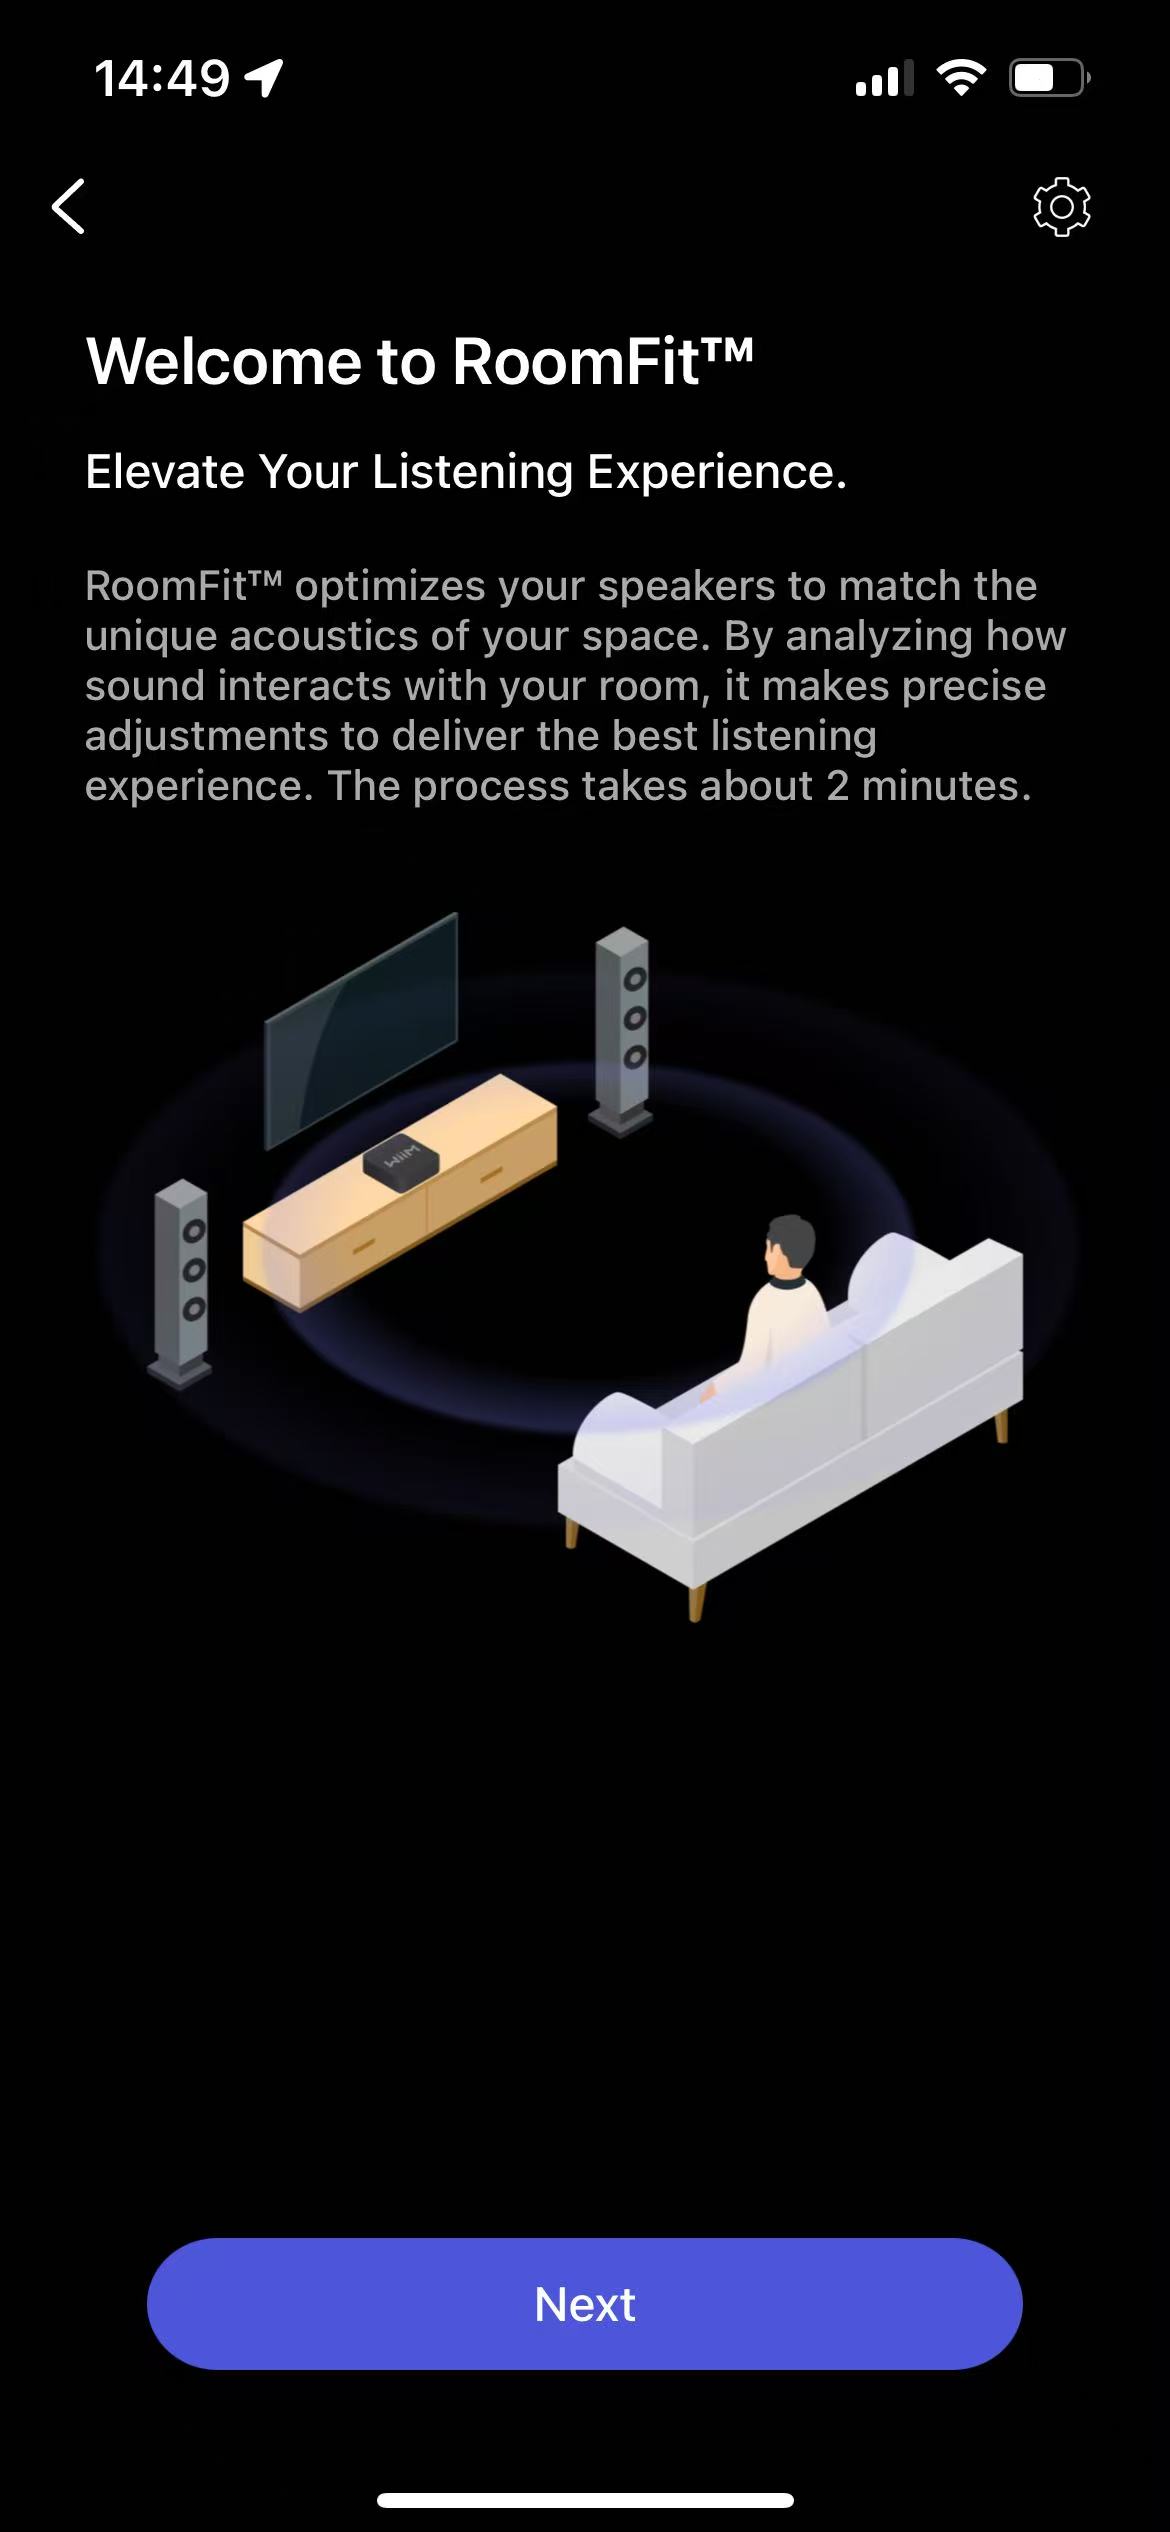 For details, see Introducing RoomFit™ Settings and A Practical Guide to RoomFit™ Room Correction for Enhanced Sound Quality. |
| 4. Start RoomFit™ process. | Tap Next to start the RoomFit™ process. Tip: Follow the prompt to rotate your phone 180°, so the bottom microphone faces the speakers for accurate measurement. 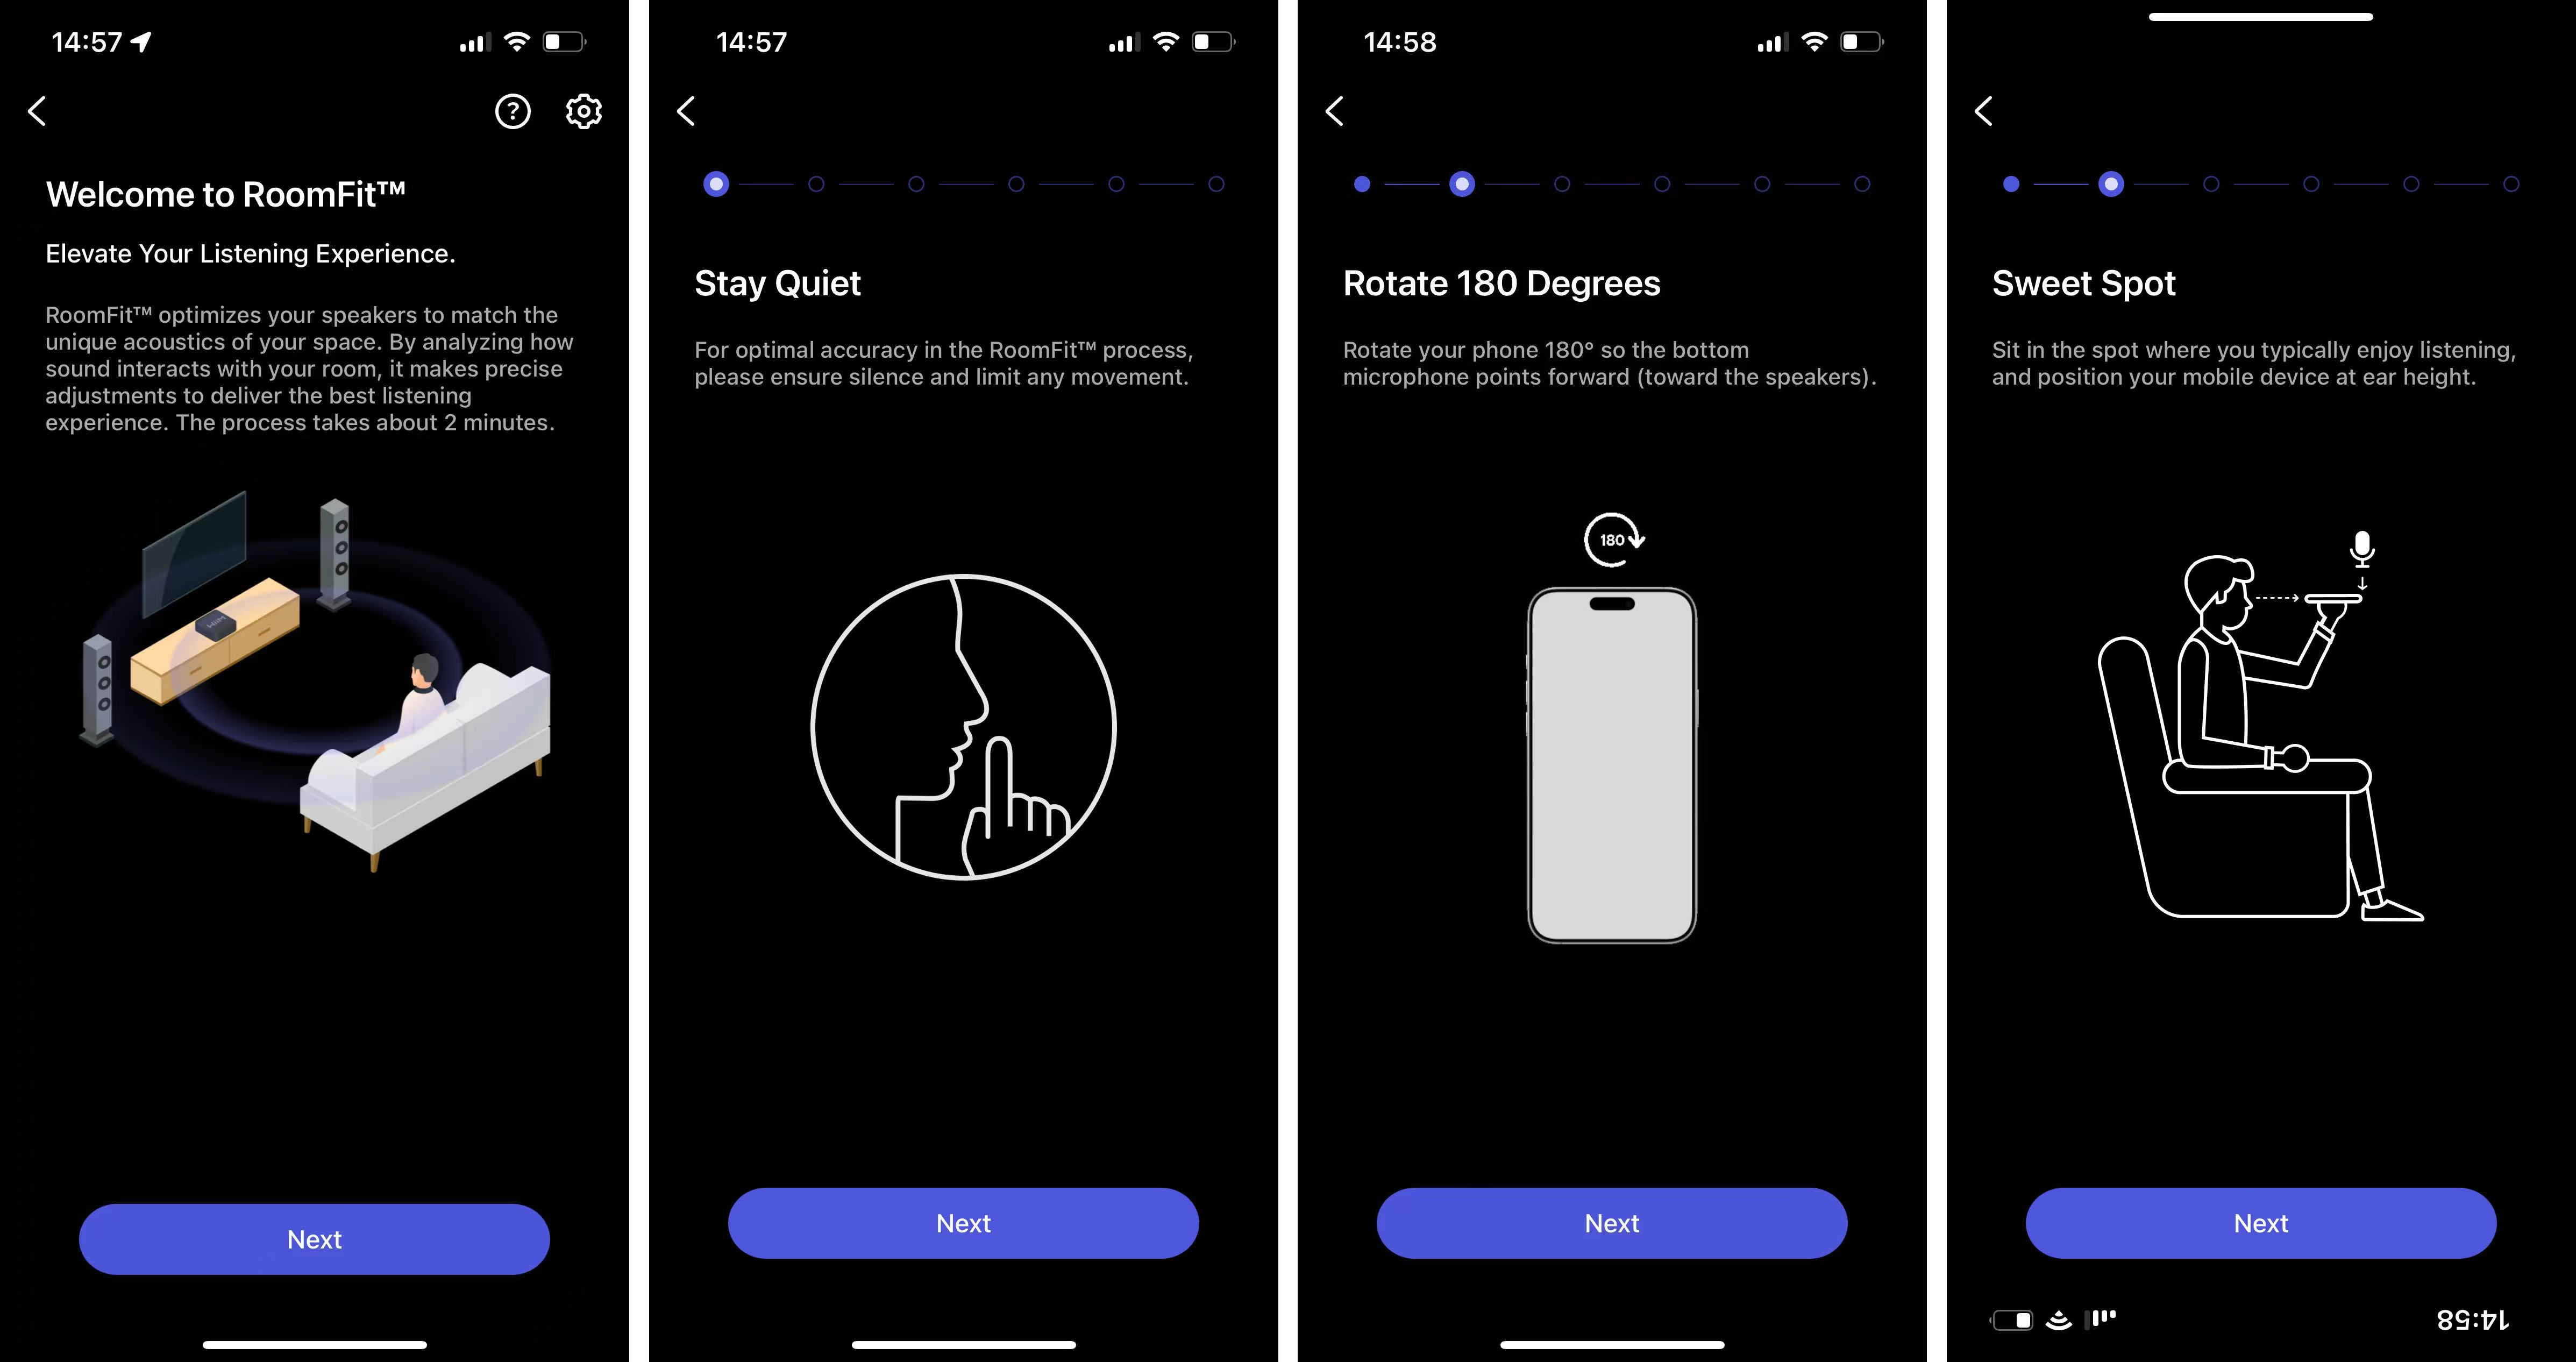 |
| 5. Audio check | Tap Play Sound to perform an audio check.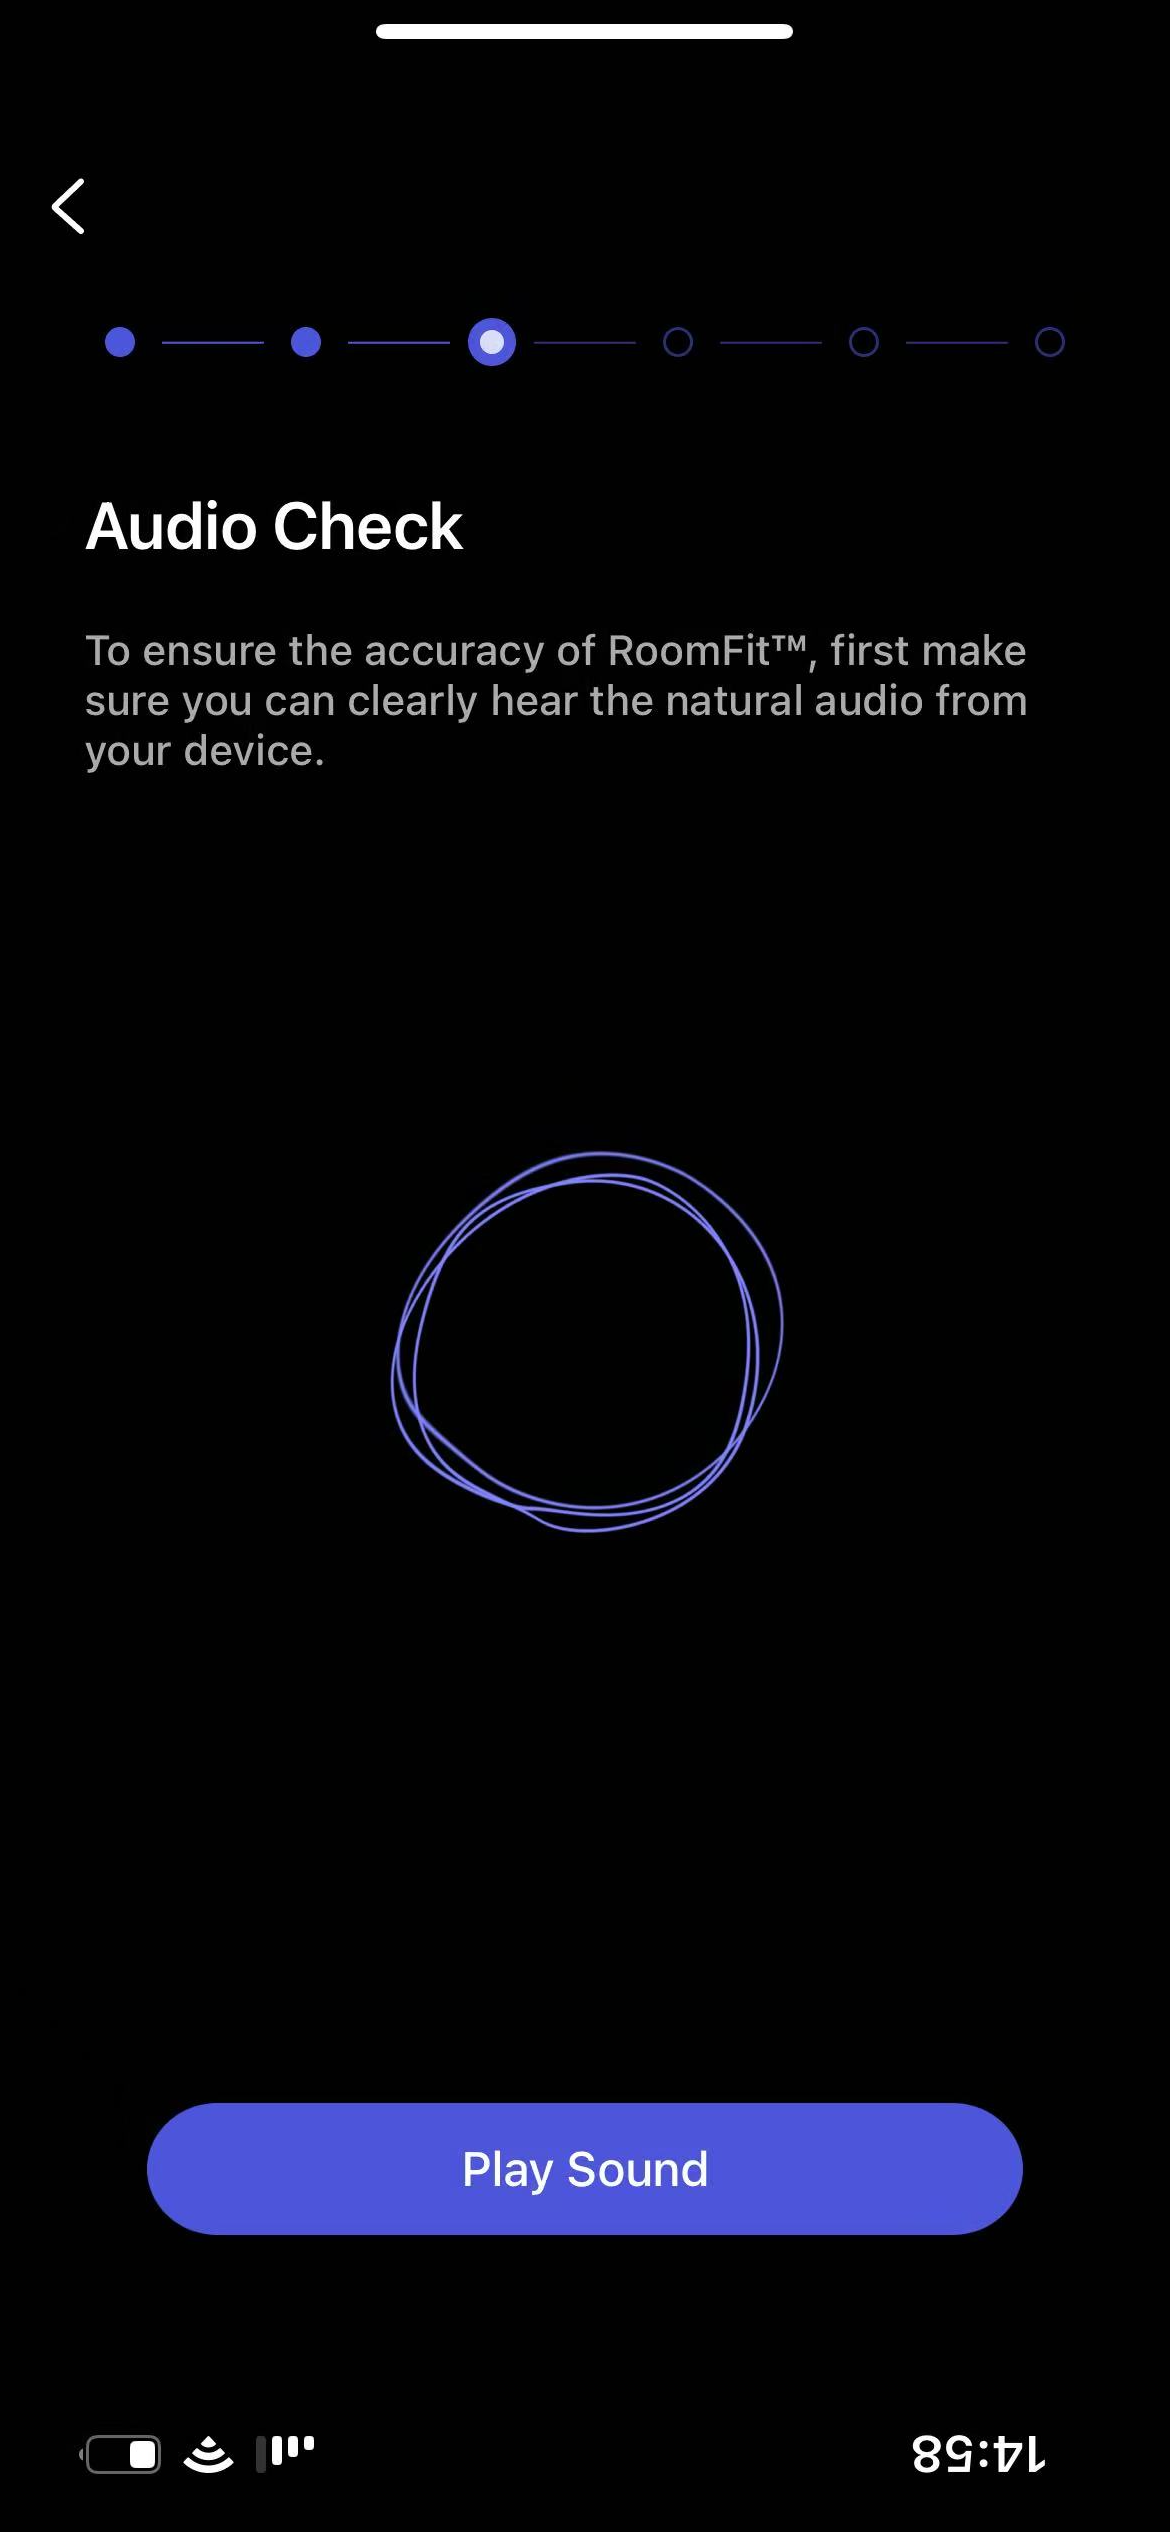 |
| 6. Select a RoomFit™ type. | Select Stereo RoomFit™ or Individual Channel RoomFit™. Notes:
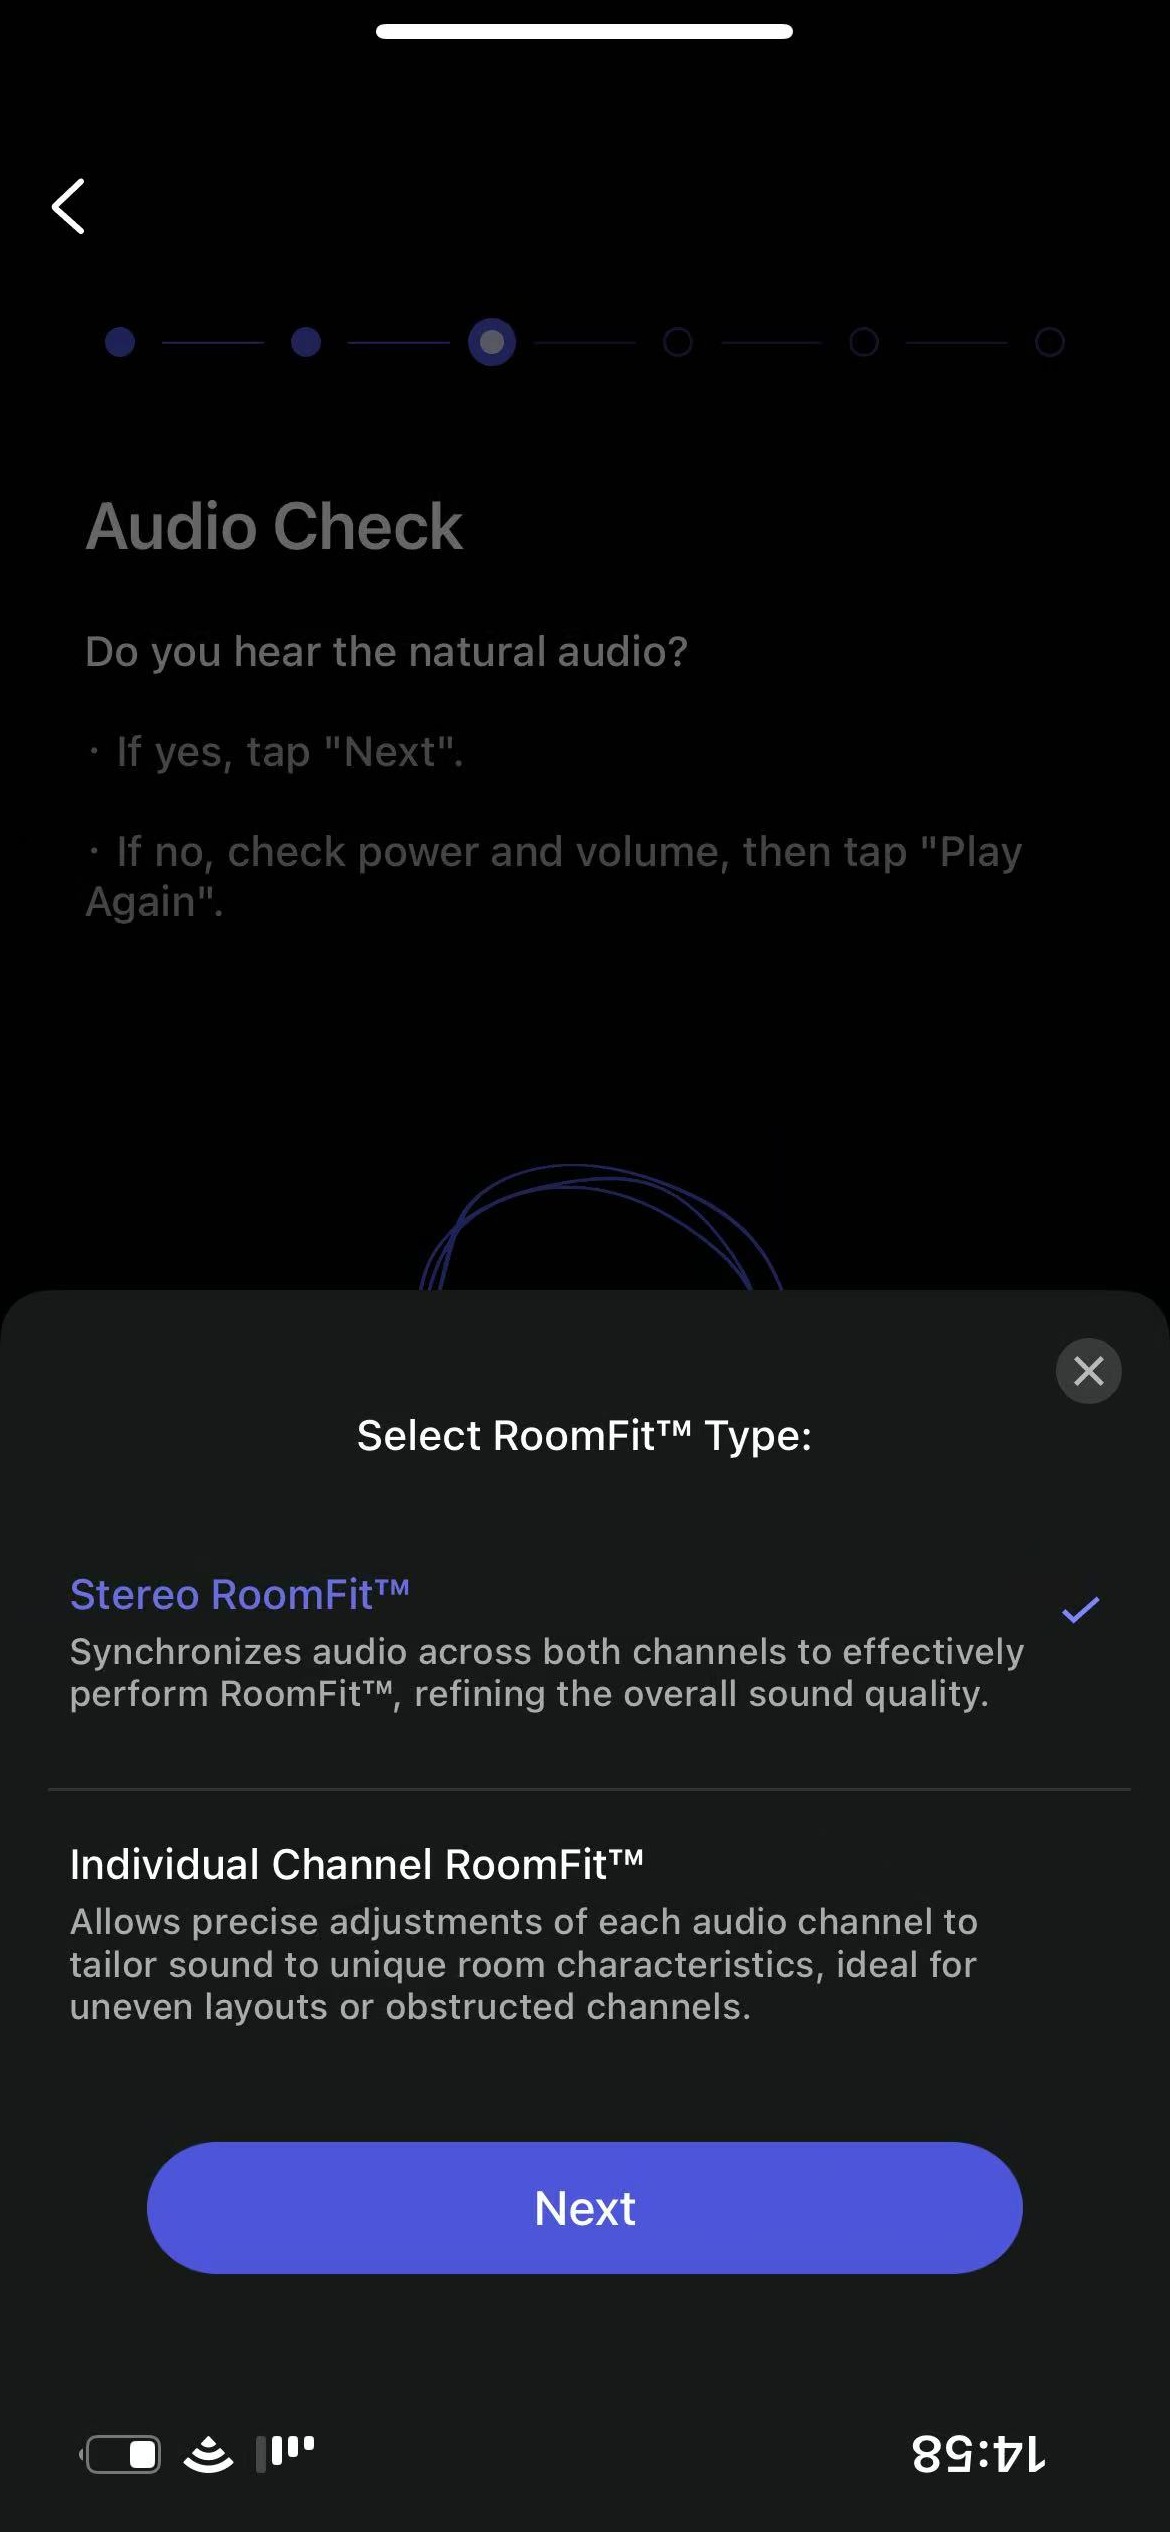 |
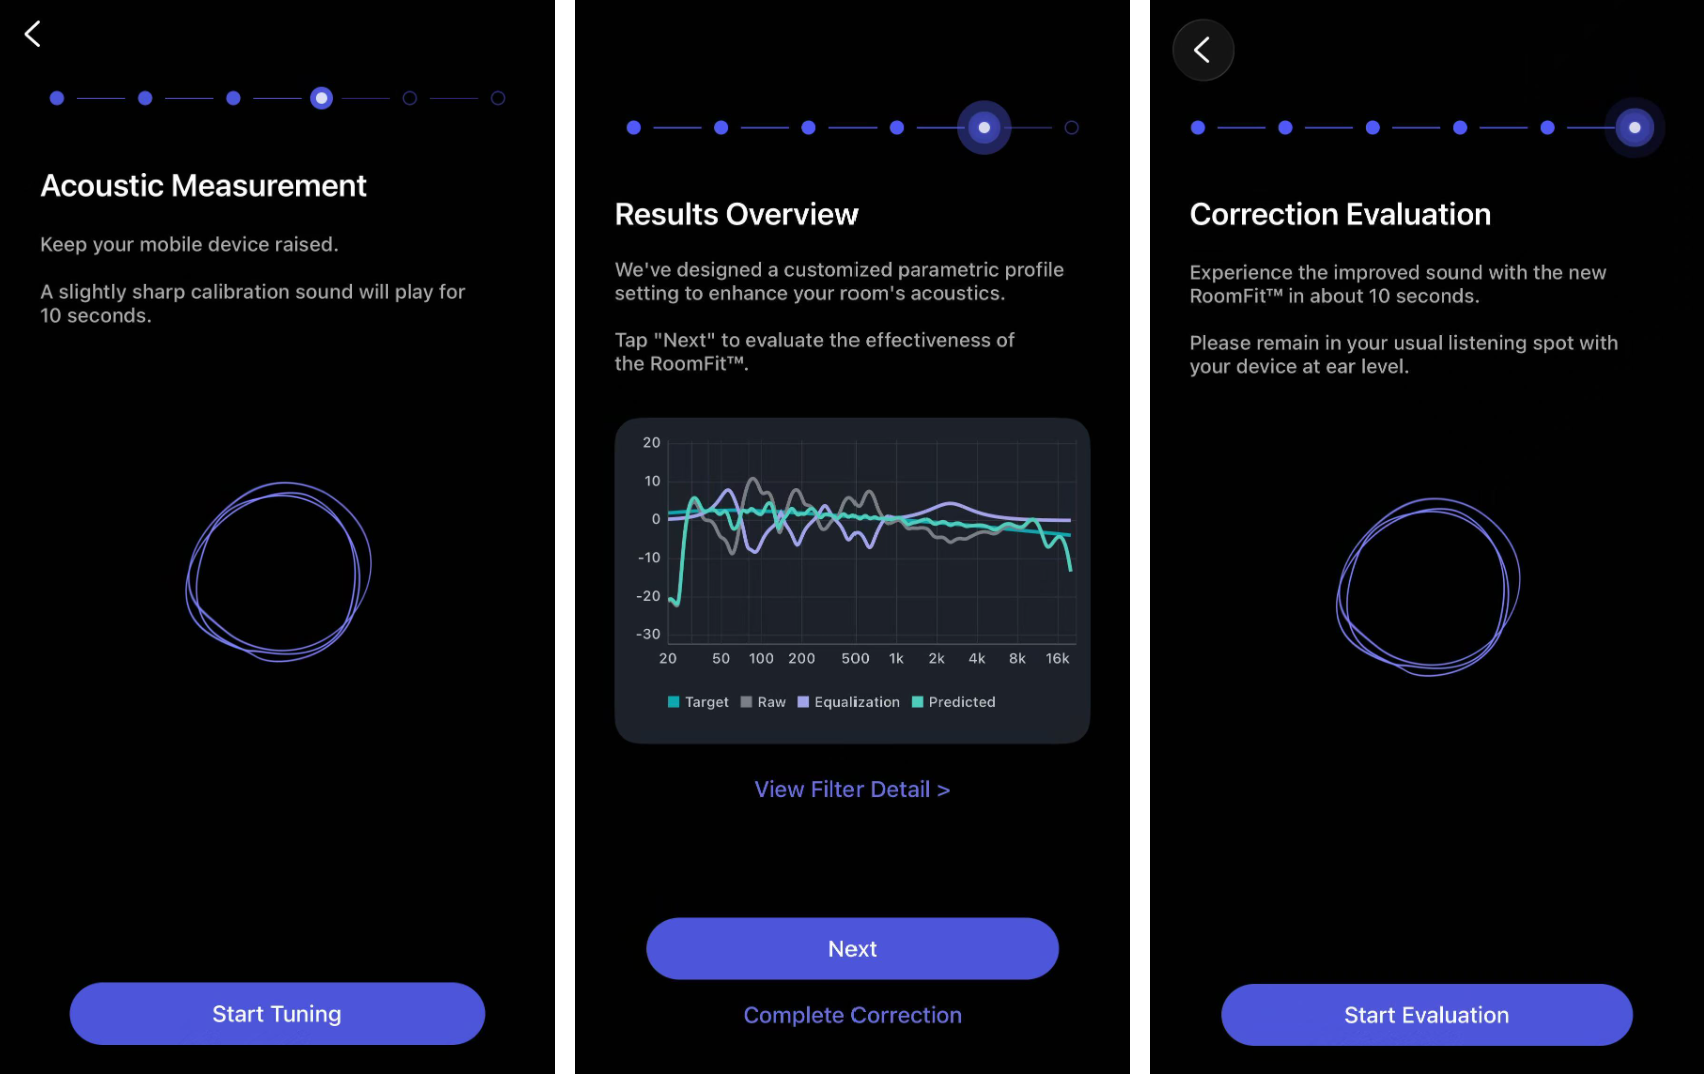
| 7. Start tuning | Tap Start Tuning to begin the acoustic measurement, then evaluate the results. You can also review the RoomFit™ result using the curves below:
 |
| 8. Evaluate results. | Review the actual RoomFit™ result using the curves below:
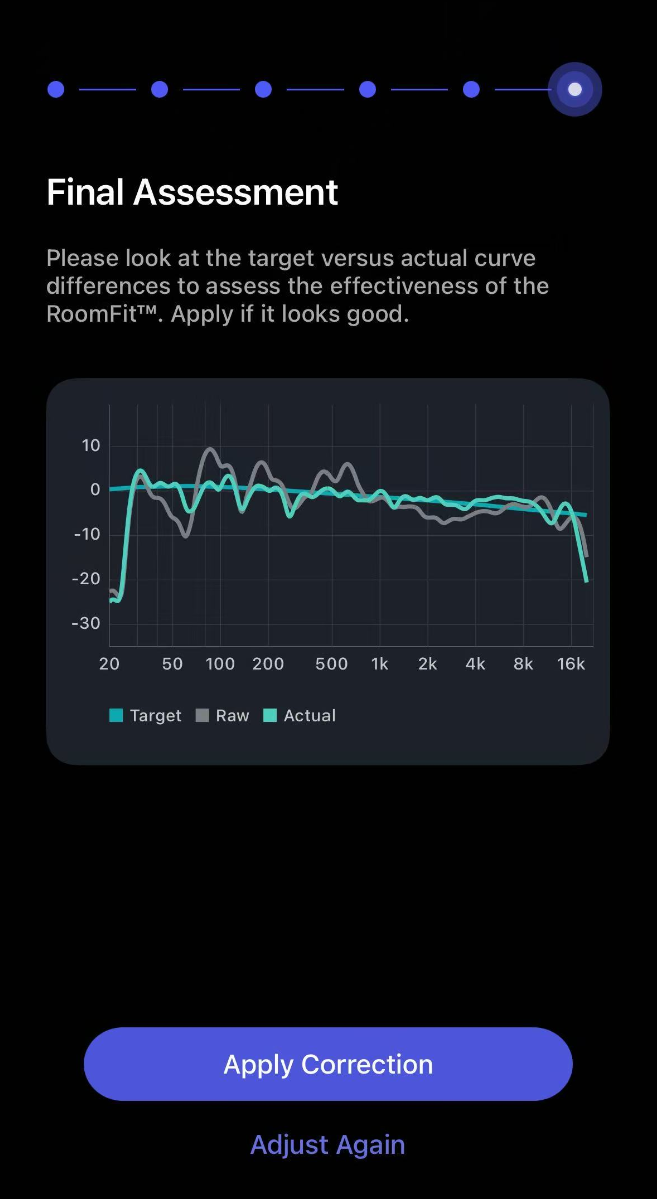 If the Actual curve closely matches the Target curve within the adjustable range, the RoomFit™ result is effective. Tap Apply Correction to proceed. If the Actual curve closely matches the Target curve within the adjustable range, the RoomFit™ result is effective. Tap Apply Correction to proceed.If there are large differences, tap Adjust Again to re-run RoomFit™. |
| 9. Save results. | Tap Save Profile to save the RoomFit™ results as a custom profile. Alternatively, tap Skip to save into the Auto profile.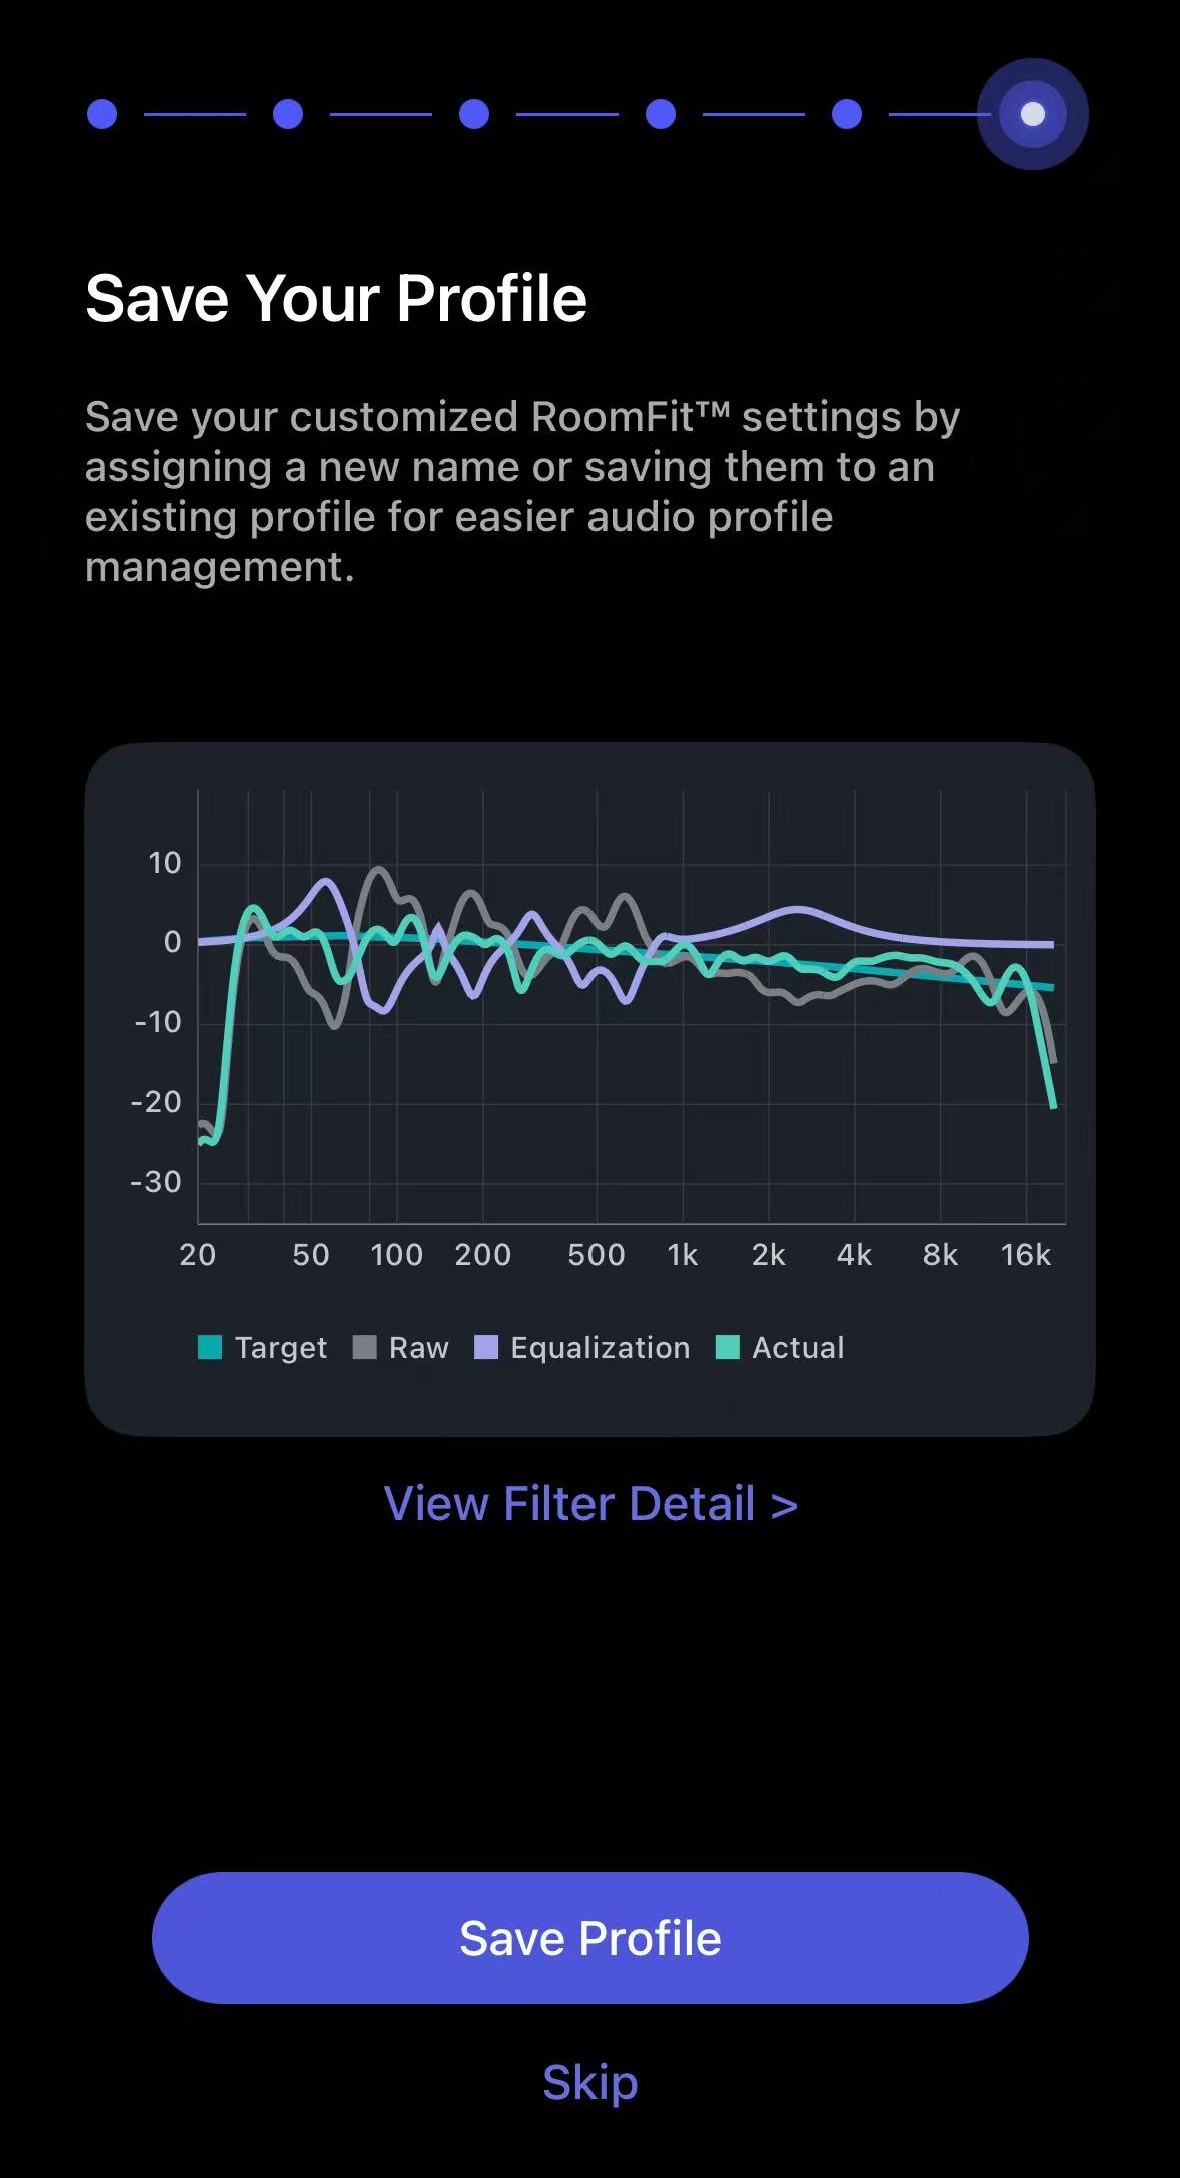 |
| 10. Finish | Tap Done to finish the RoomFit™ process.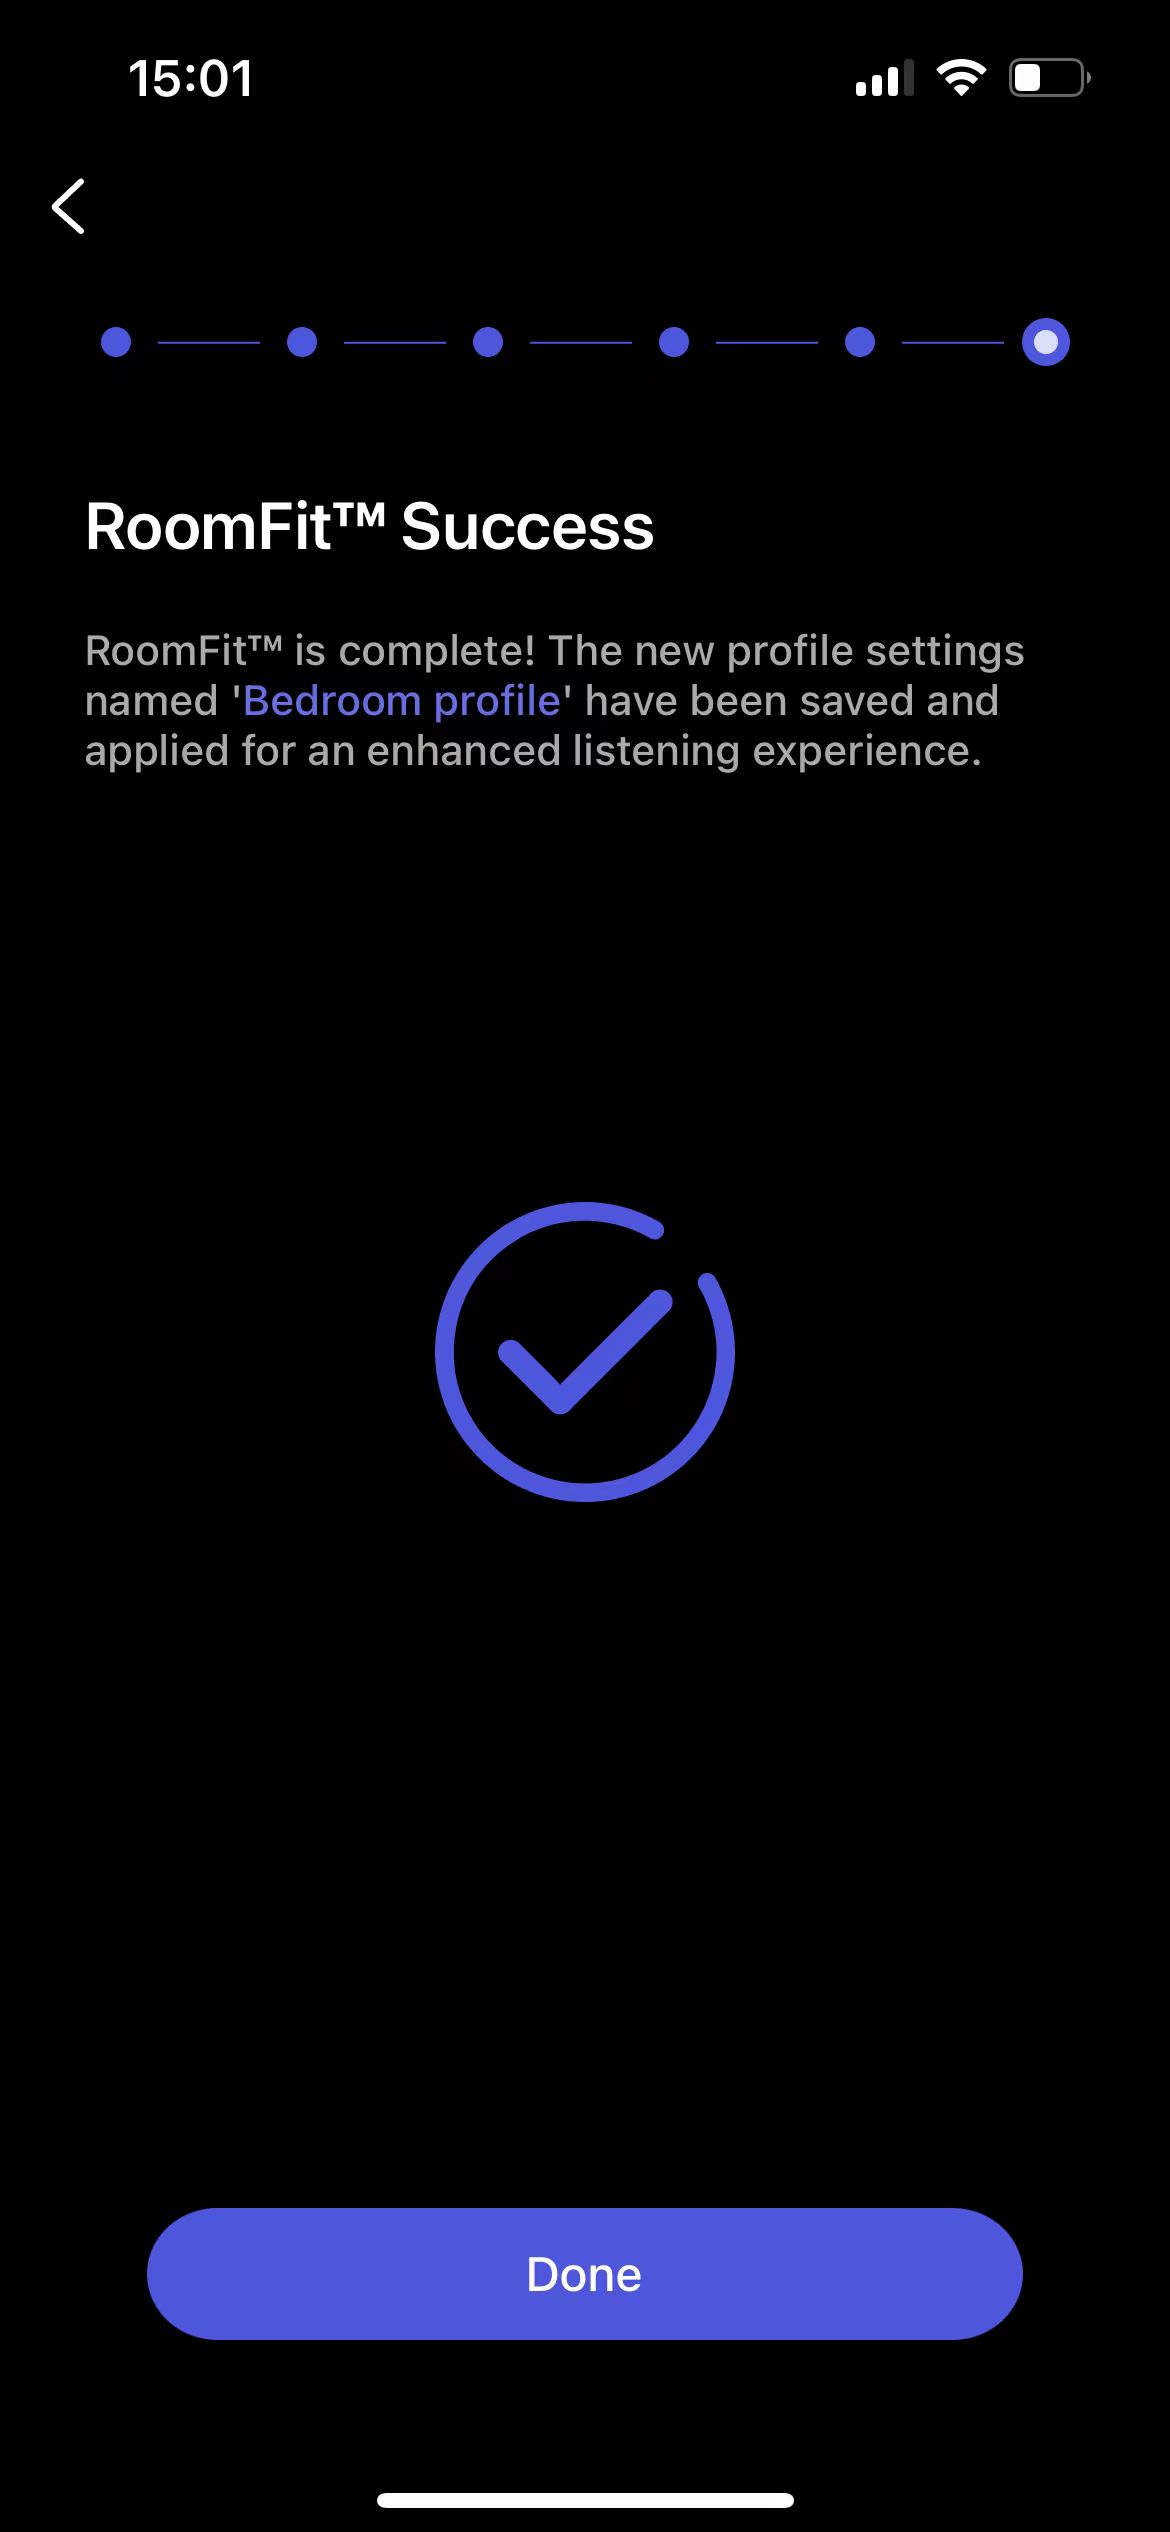 |
Note: Once the RoomFit™ process is completed, the saved profile will be automatically applied to all input sources, so you do not need to perform it separately for each one.
Troubleshooting and Tips
- Troubleshooting: If you are experiencing issues during the RoomFit™ process, refer to Troubleshooting: How to Resolve Common Errors in RoomFit™.
- External microphone: You can use an external microphone to enhance calibration accuracy. For details, see Using an External Microphone for RoomFit™.
- MMM: You can enable Moving Microphone Measurement (MMM) for more balanced and consistent audio calibration. For details, see Introducing RoomFit™ with MMM (Beta).
- RoomFit™ Parameters and Practical Guide: See Introducing RoomFit™ Settings and A Practical Guide to RoomFit™ for Enhanced Sound Quality.
- WiiM Sound/Sound Lite RoomFit™: See How to Perform RoomFit™ to Calibrate Your WiiM Sound and WiiM Sound Lite for Your Room.
- WiiM Sub Pro RoomFit™: See A Comprehensive Guide to WiiM Sub Pro RoomFit™.