
TABLE OF CONTENTS
Overview
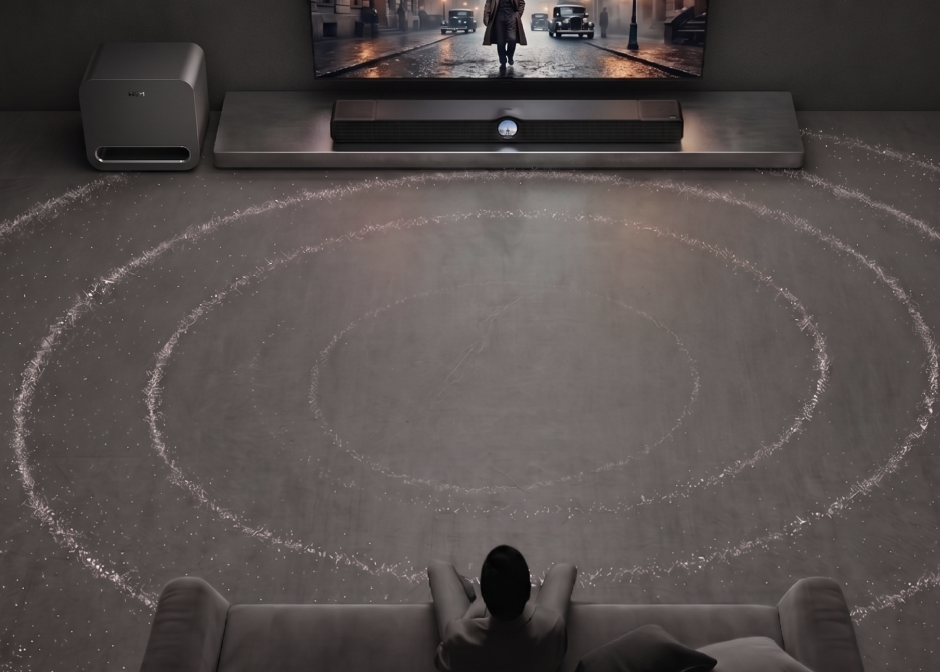
RoomFit™ optimizes your WiiM Bar to deliver the best audio performance for your room. It measures how sound interacts with your space—capturing reflections, absorption, and the room's overall acoustic behavior.
Based on these measurements, RoomFit™ automatically fine-tunes the frequency response and output for clearer vocals, tighter bass, and a more balanced listening experience.
- RoomFit™ calibrates the Left, Right, and Center channels on the WiiM Bar separately.
- If your WiiM Bar is paired with a WiiM Sub Pro, RoomFit™ does not support calibrating them together.
Preparations and Instructions
Before Calibration
- Avoid obstructions around the WiiM Bar.
- Set the volume to a moderate level.
- Close doors and windows.
- Keep the room as quiet as possible.
During Calibration
- ALWAYS remove the protective case from your phone.
- ALWAYS hold the phone as far away from your body as possible.
- ALWAYS point the microphone towards the WiiM Bar.
- ALWAYS avoid obstructions between the microphone and the WiiM Bar.
- ALWAYS place the microphone at ear level (ensure the microphone, your ears, and the WiiM Bar are at approximately the same height).
- Use an external microphone when available for more accurate calibration results. For details, see Using an External Microphone for RoomFit™.
Step-by-Step Guide
| Steps | Details |
|---|---|
| 1. Open WiiM Home. | Open the WiiM Home app on your mobile device. |
| 2. Open RoomFit™. | Go to the Devices tab > Device Settings |
| 3. Configure RoomFit™ parameters. | Tap the 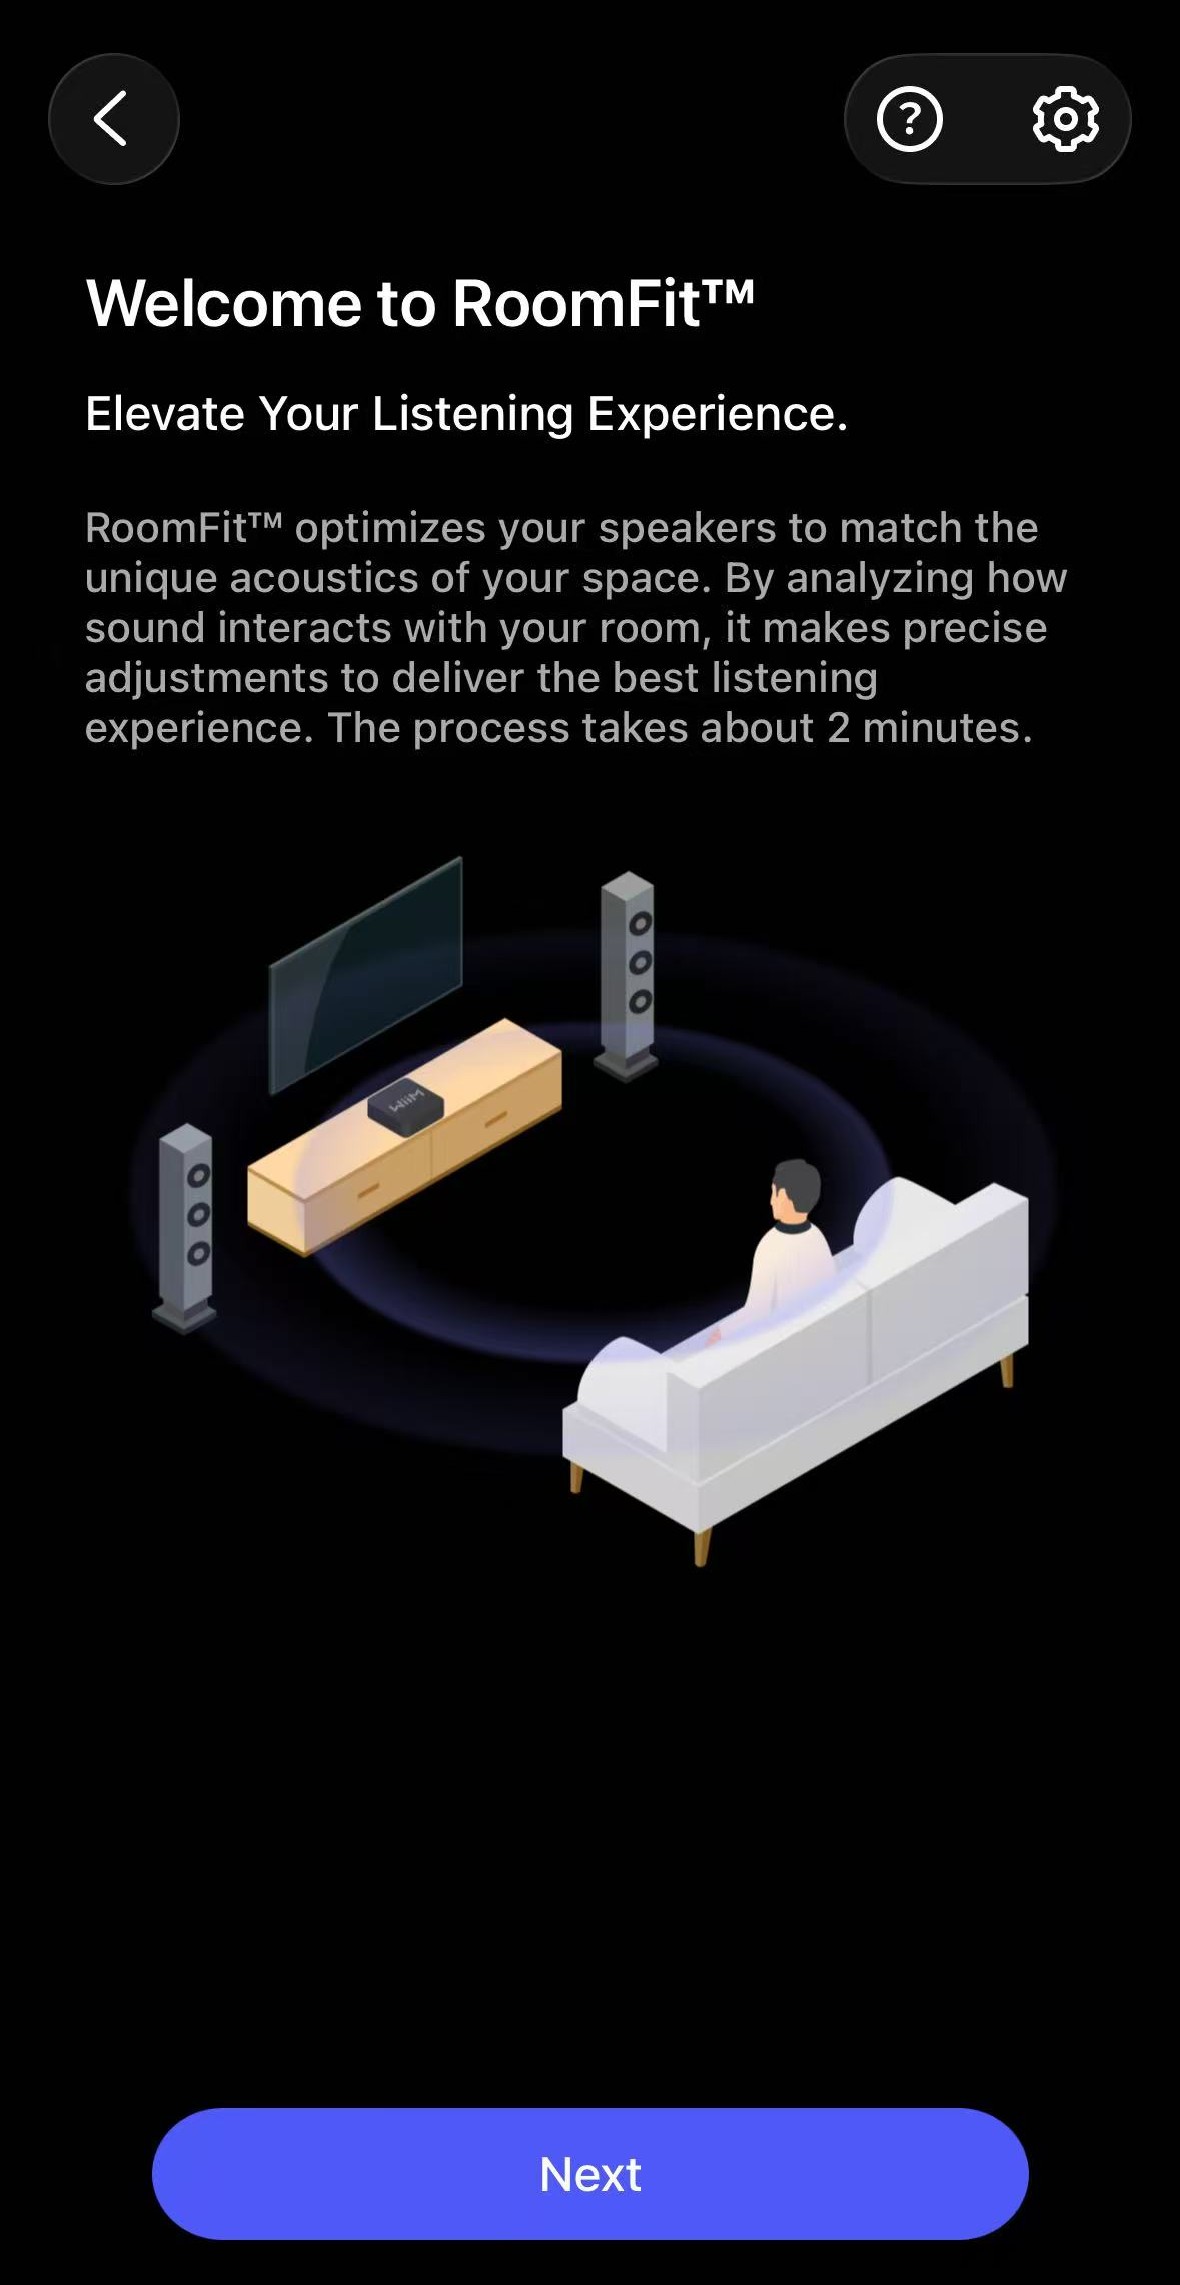 For details, see Introducing RoomFit™ Settings and A Practical Guide to RoomFit™ Room Correction for Enhanced Sound Quality. |
| 4. Start RoomFit™ process. | Tap Next to start the RoomFit™ process for the WiiM Bar. Tip: Follow the prompt to rotate your phone 180°, so the bottom microphone faces the WiiM Bar for accurate measurement. 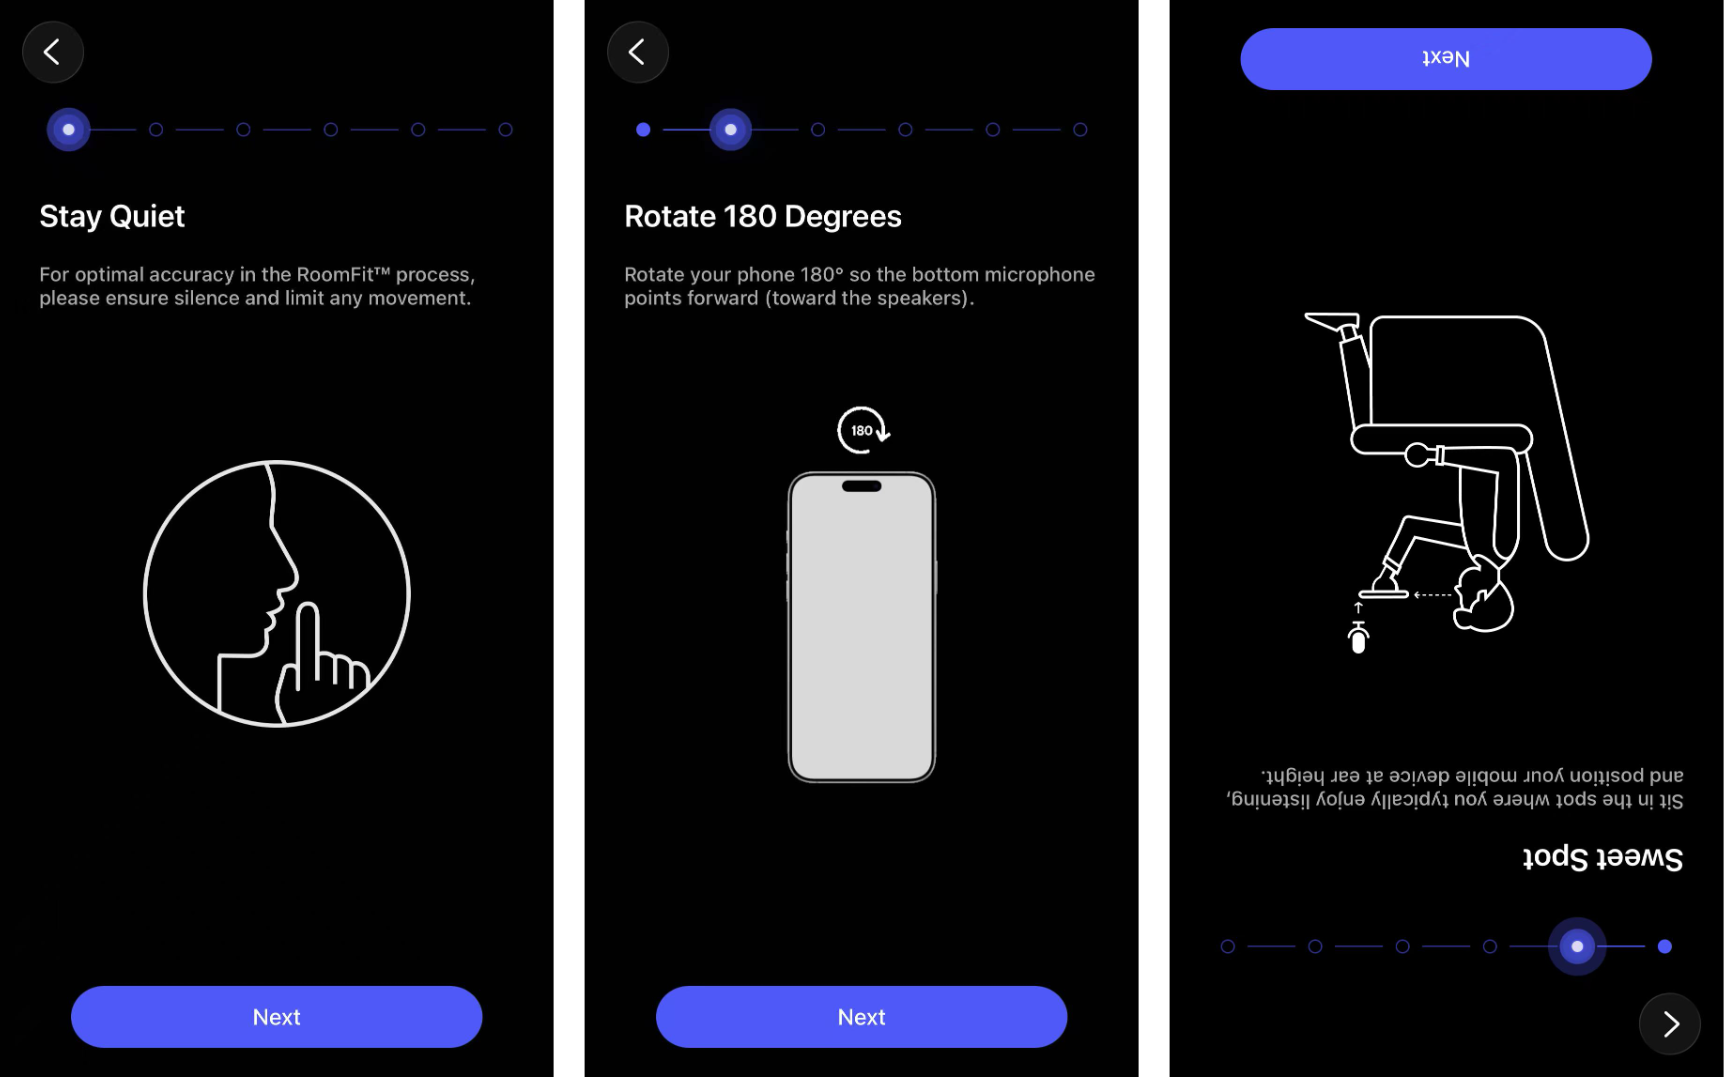 |
| 5. Audio check. | Tap Play Sound to perform an audio check. 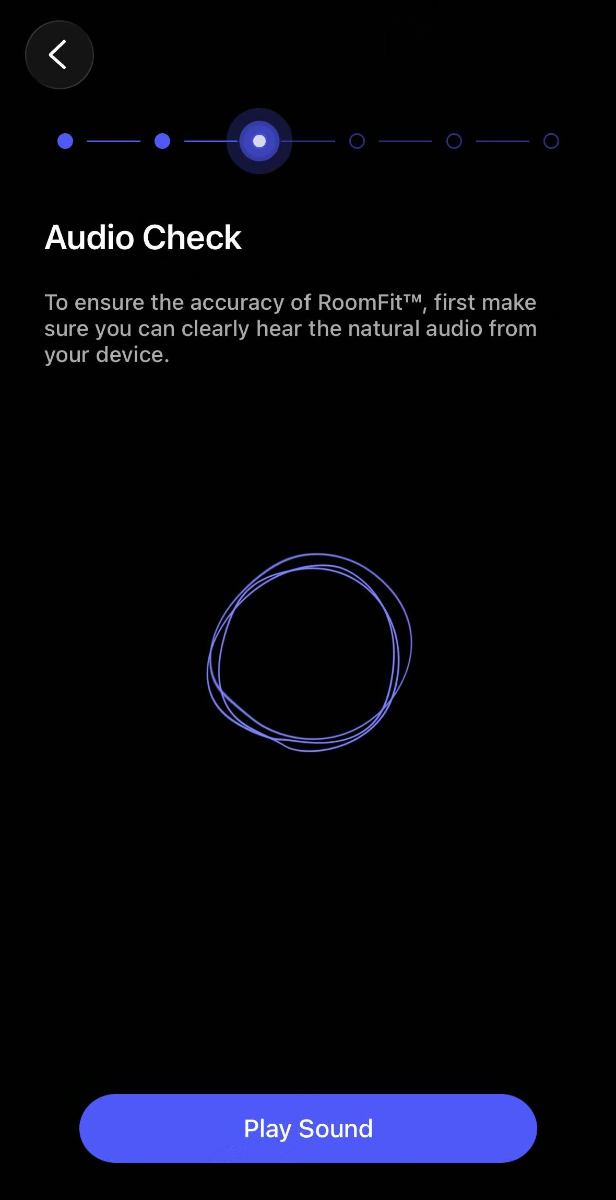 |
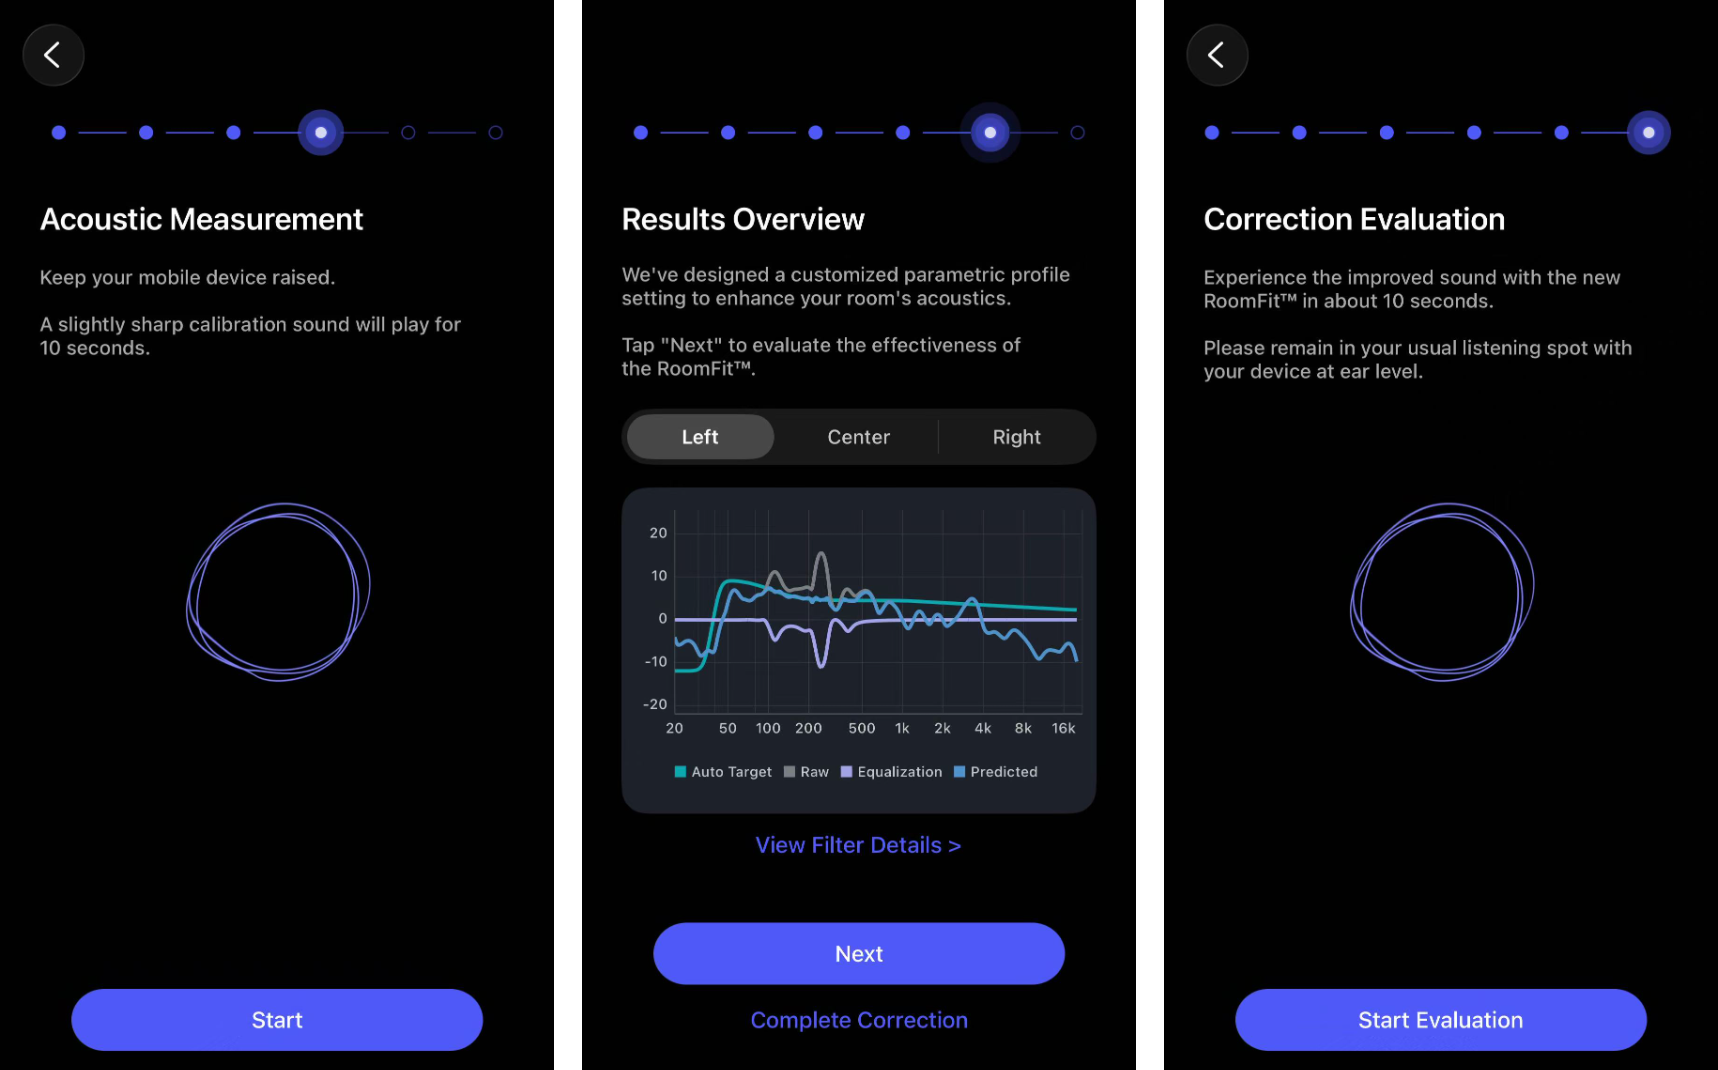
| 6. Calibrate each channel. | Tap Start Tuning and follow the on-screen prompts to calibrate the WiiM Bar's Left, Right, and Center channels one by one. After calibration, review the RoomFit™ result from the curves below:
 |
| 7. Evaluate results. | Evaluate the RoomFit™ result for the Left, Right, and Center channels from the curves below:
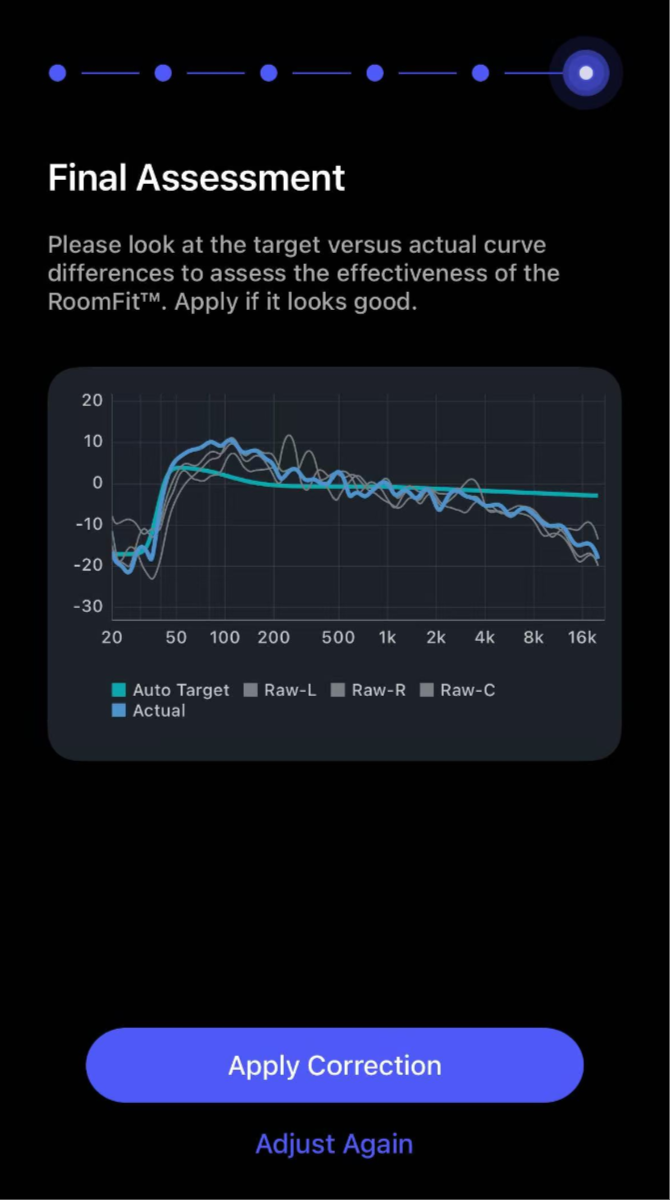 If the Actual curves closely match the Target curves within the adjustable range, the RoomFit™ result is effective. Tap Apply Correction to proceed. If there are large differences, tap Adjust Again to re-run RoomFit™ for the affected channel. |
| 8. Save results. | Tap Save Profile to save the RoomFit™ results as a custom profile. Alternatively, tap Skip to save into the Auto profile. 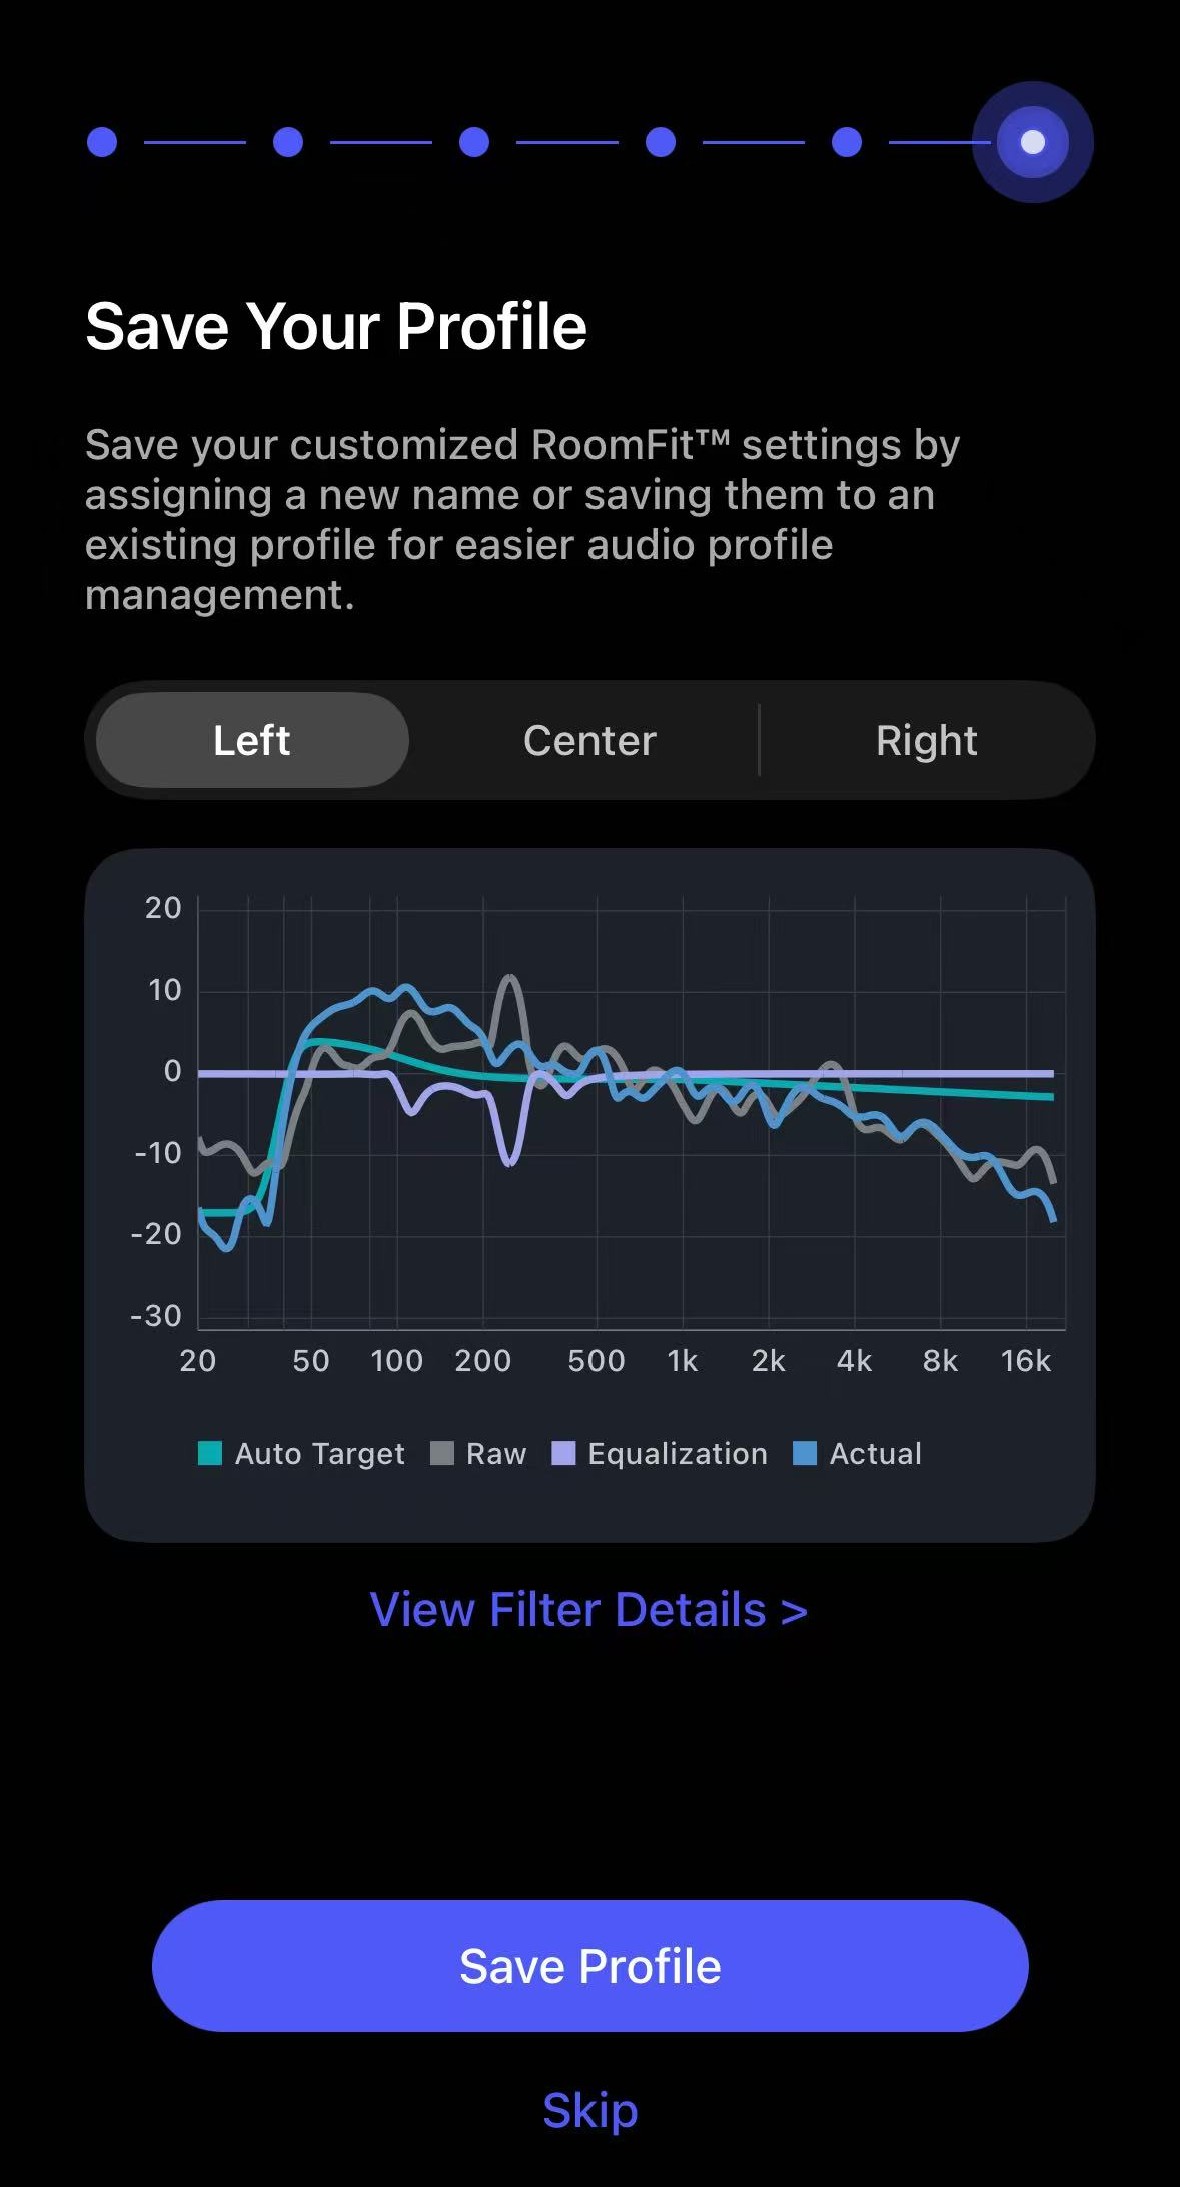 |
| 9. Finish. | Tap Done to finish the RoomFit™ process. 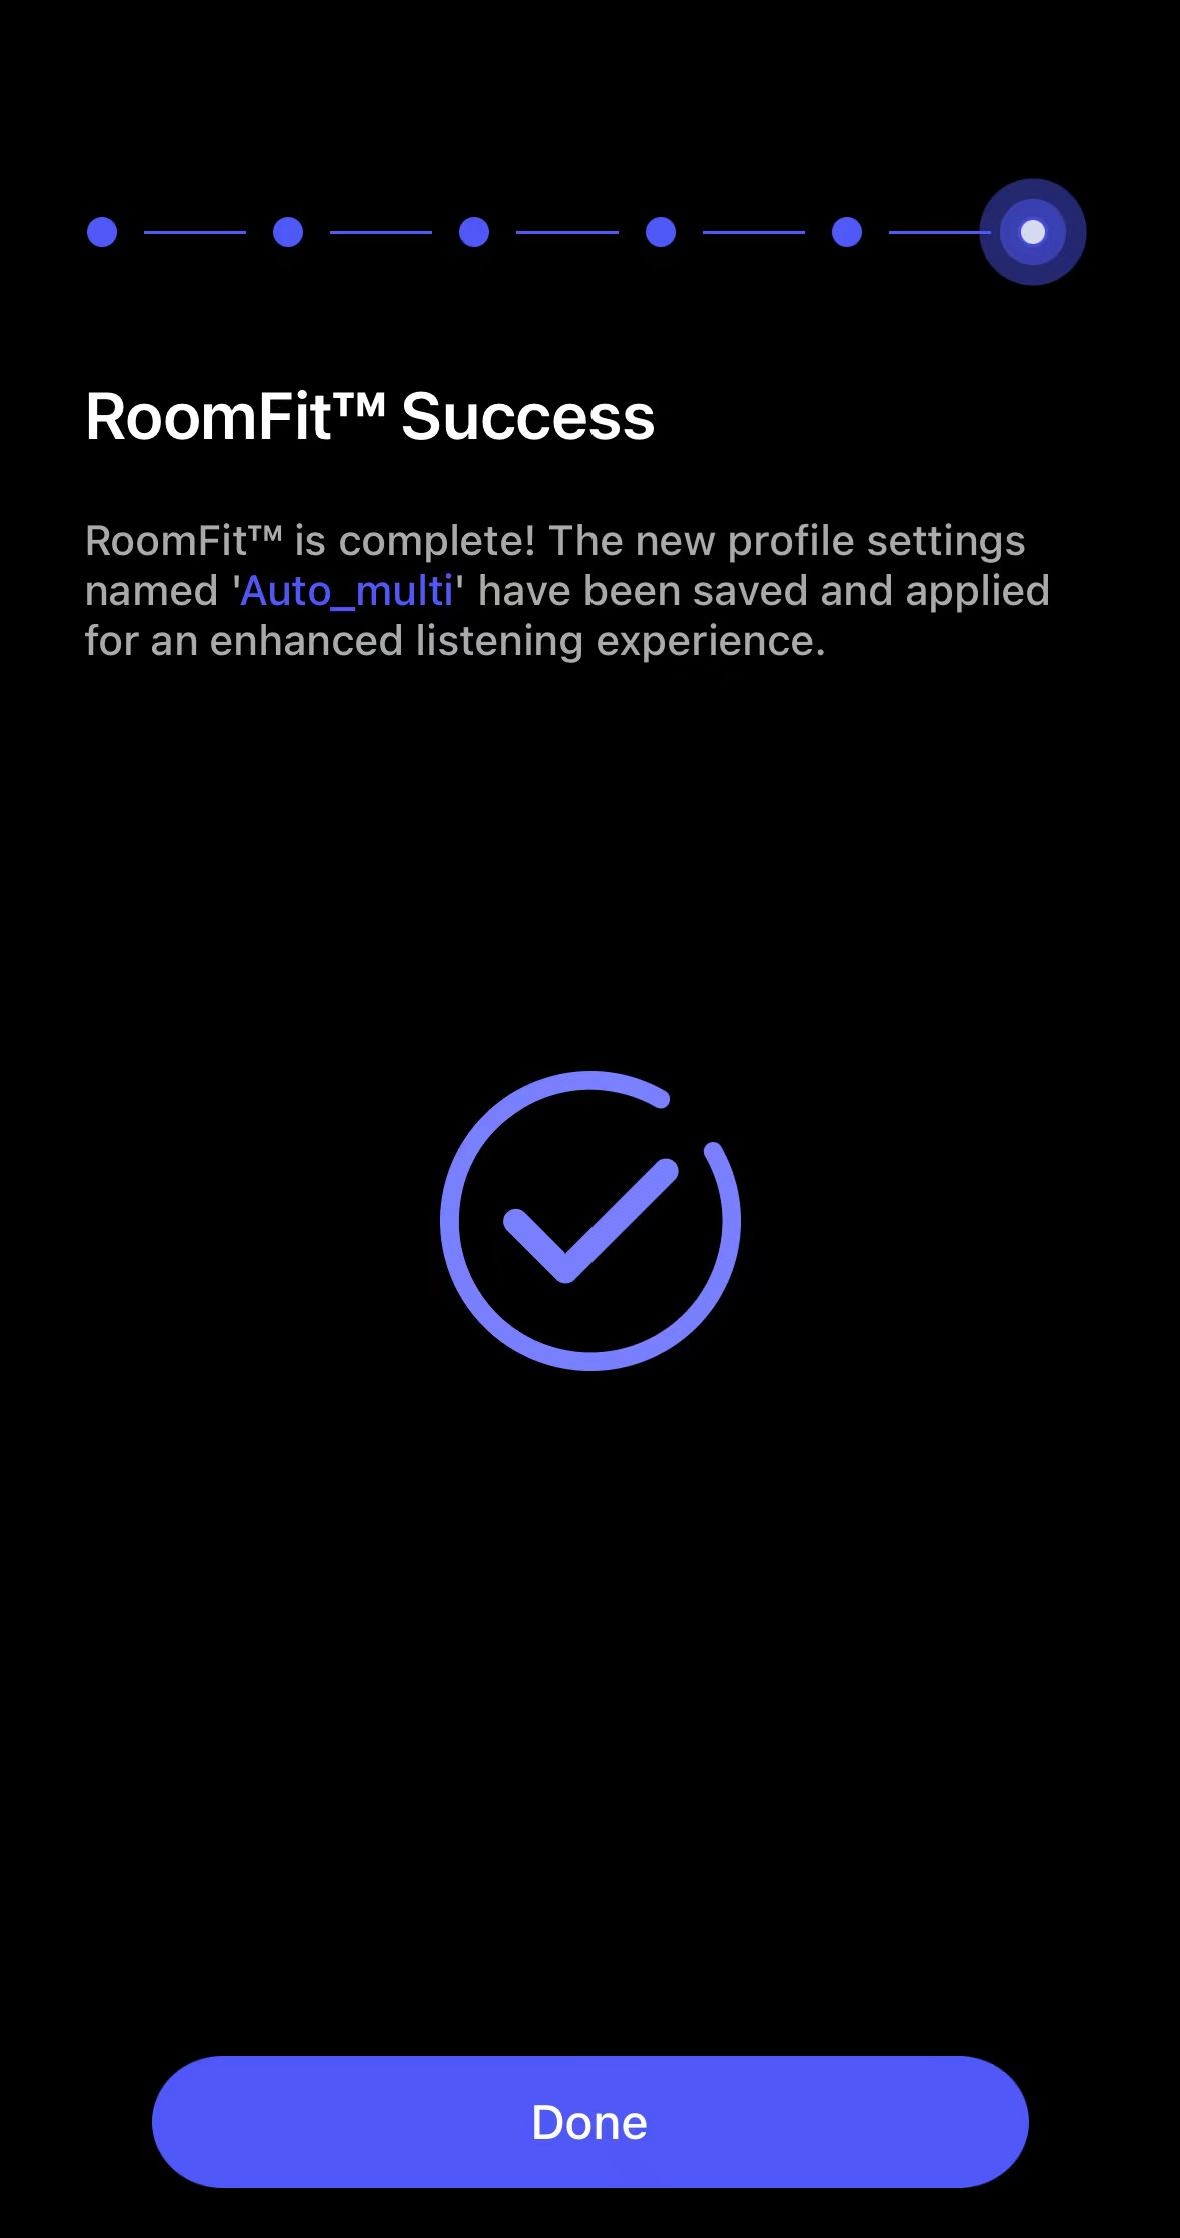 Note: Once the RoomFit™ process is completed, the saved profile will be automatically applied to all input sources, so you do not need to perform it separately for each one. |
 > RoomFit™.
Tips
- Troubleshooting: If you experience issues during the RoomFit™ process, refer to How to Resolve Common Errors in RoomFit™ Room Correction.
- External microphone: You can use an external microphone for RoomFit™ to enhance calibration accuracy. For details, see Using an External Microphone for RoomFit™ Room Correction.
- RoomFit™ Parameters and Practical Guide: See Introducing RoomFit™ Settings and A Practical Guide to RoomFit™ Room Correction for Enhanced Sound Quality.