
TABLE OF CONTENTS
Overview
The WiiM Bar provides the RoomFit™ feature to correct its frequency response in your room.
RoomFit™ measures the frequency response of your WiiM Bar at your listening position and corrects it to more closely match your selected target curve. This helps reduce uneven sound caused by room acoustics and speaker placement for a more balanced listening experience.
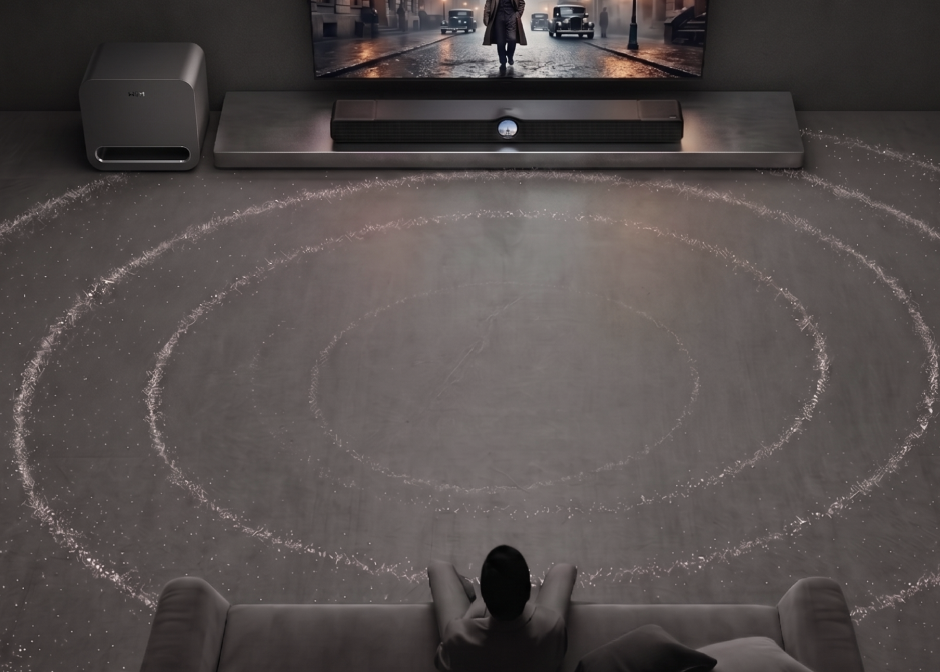
- RoomFit™ calibrates the Left (L) and Right (R) channels together and the Center channel separately. You can review the results for each channel group under the Left & Right and Center tabs.
- If your WiiM Bar is paired with a WiiM Sub Pro, run RoomFit™ on the WiiM Bar and Subwoofer RoomFit™ on the WiiM Sub Pro separately.
Preparations and Instructions
Before RoomFit™ Measurement
- Avoid obstructions around the WiiM Bar.
- Set the volume to a moderate level.
- Close doors and windows.
- Keep the room as quiet as possible.
During RoomFit™ Measurement
- ALWAYS remove the protective case from your phone.
- ALWAYS hold the phone as far away from your body as possible.
- ALWAYS point the microphone towards the WiiM Bar.
- ALWAYS avoid obstructions between the microphone and the WiiM Bar.
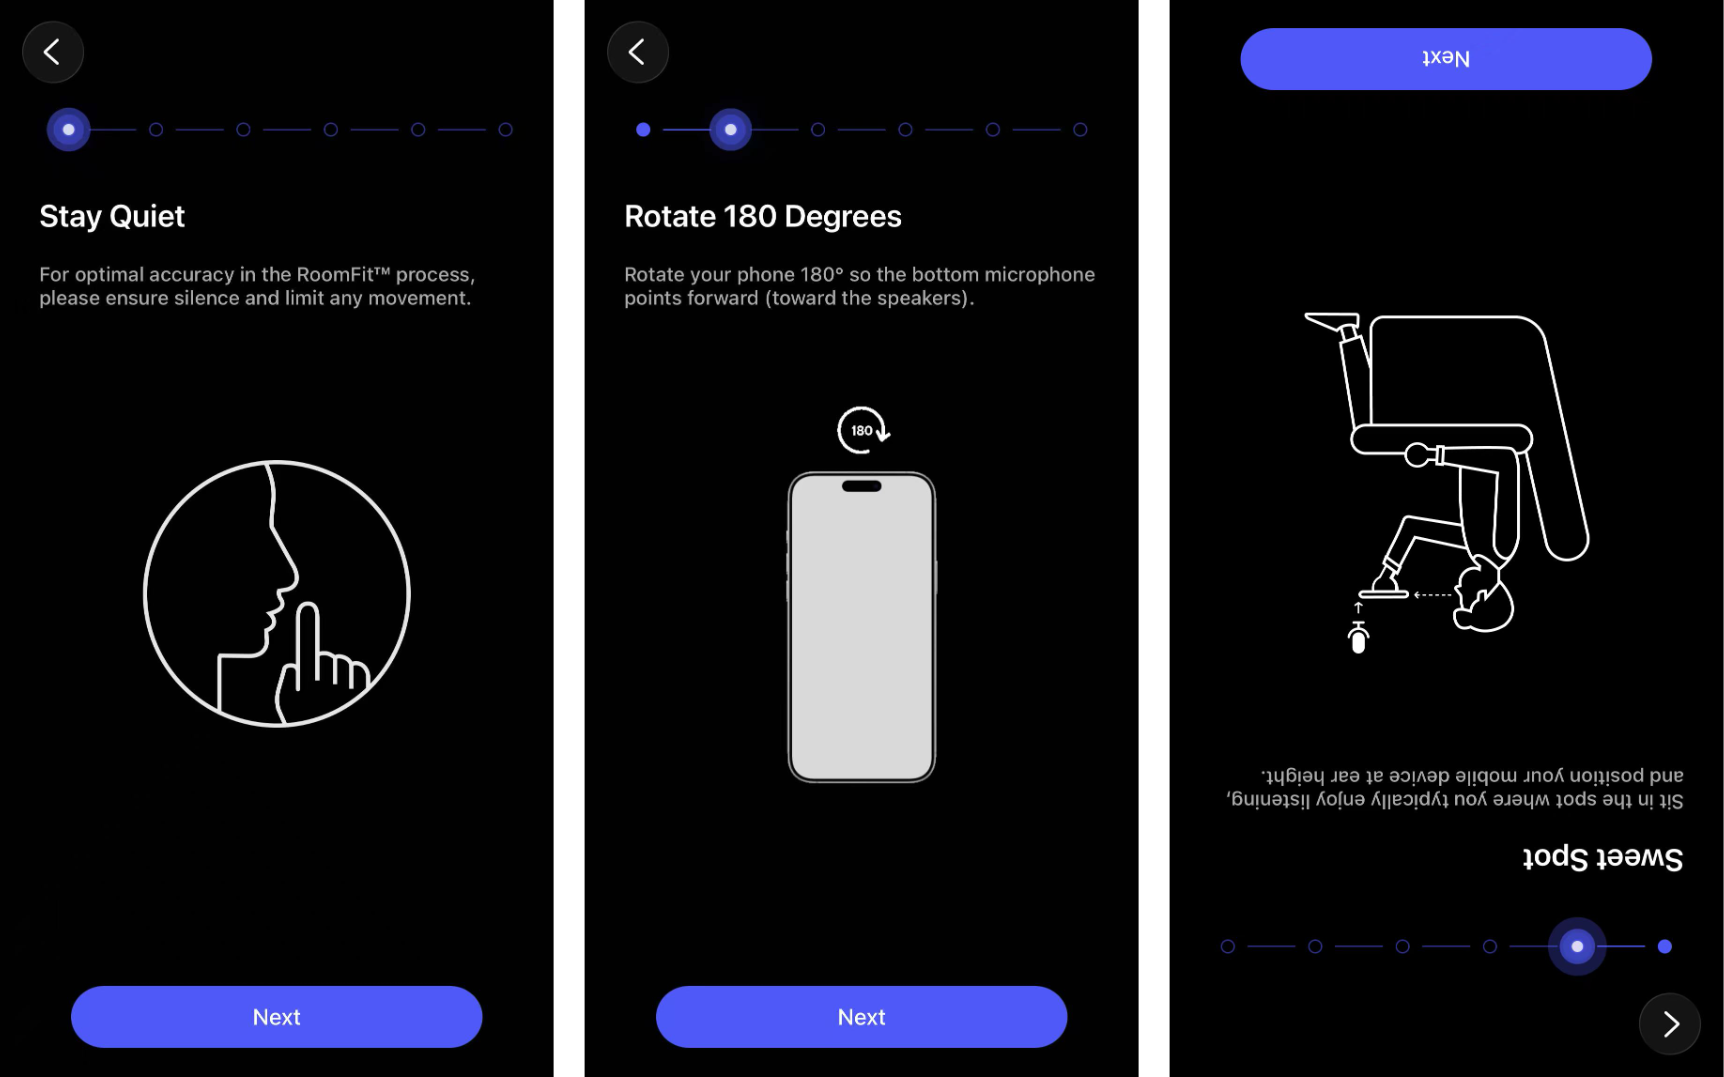
- ALWAYS place the microphone at ear level (ensure the microphone, your ears, and the WiiM Bar are at approximately the same height).
- Use an external microphone when available for more accurate RoomFit™ measurements. For details, see Using an External Microphone for RoomFit™.
Step-by-Step Guide
| Steps | Details |
|---|---|
| 1. Open WiiM Home. |
Open the WiiM Home app on your mobile device. |
| 2. Open RoomFit™. |
Go to the Devices tab > Device Settings |
| 3. Configure RoomFit™ parameters. |
Tap the 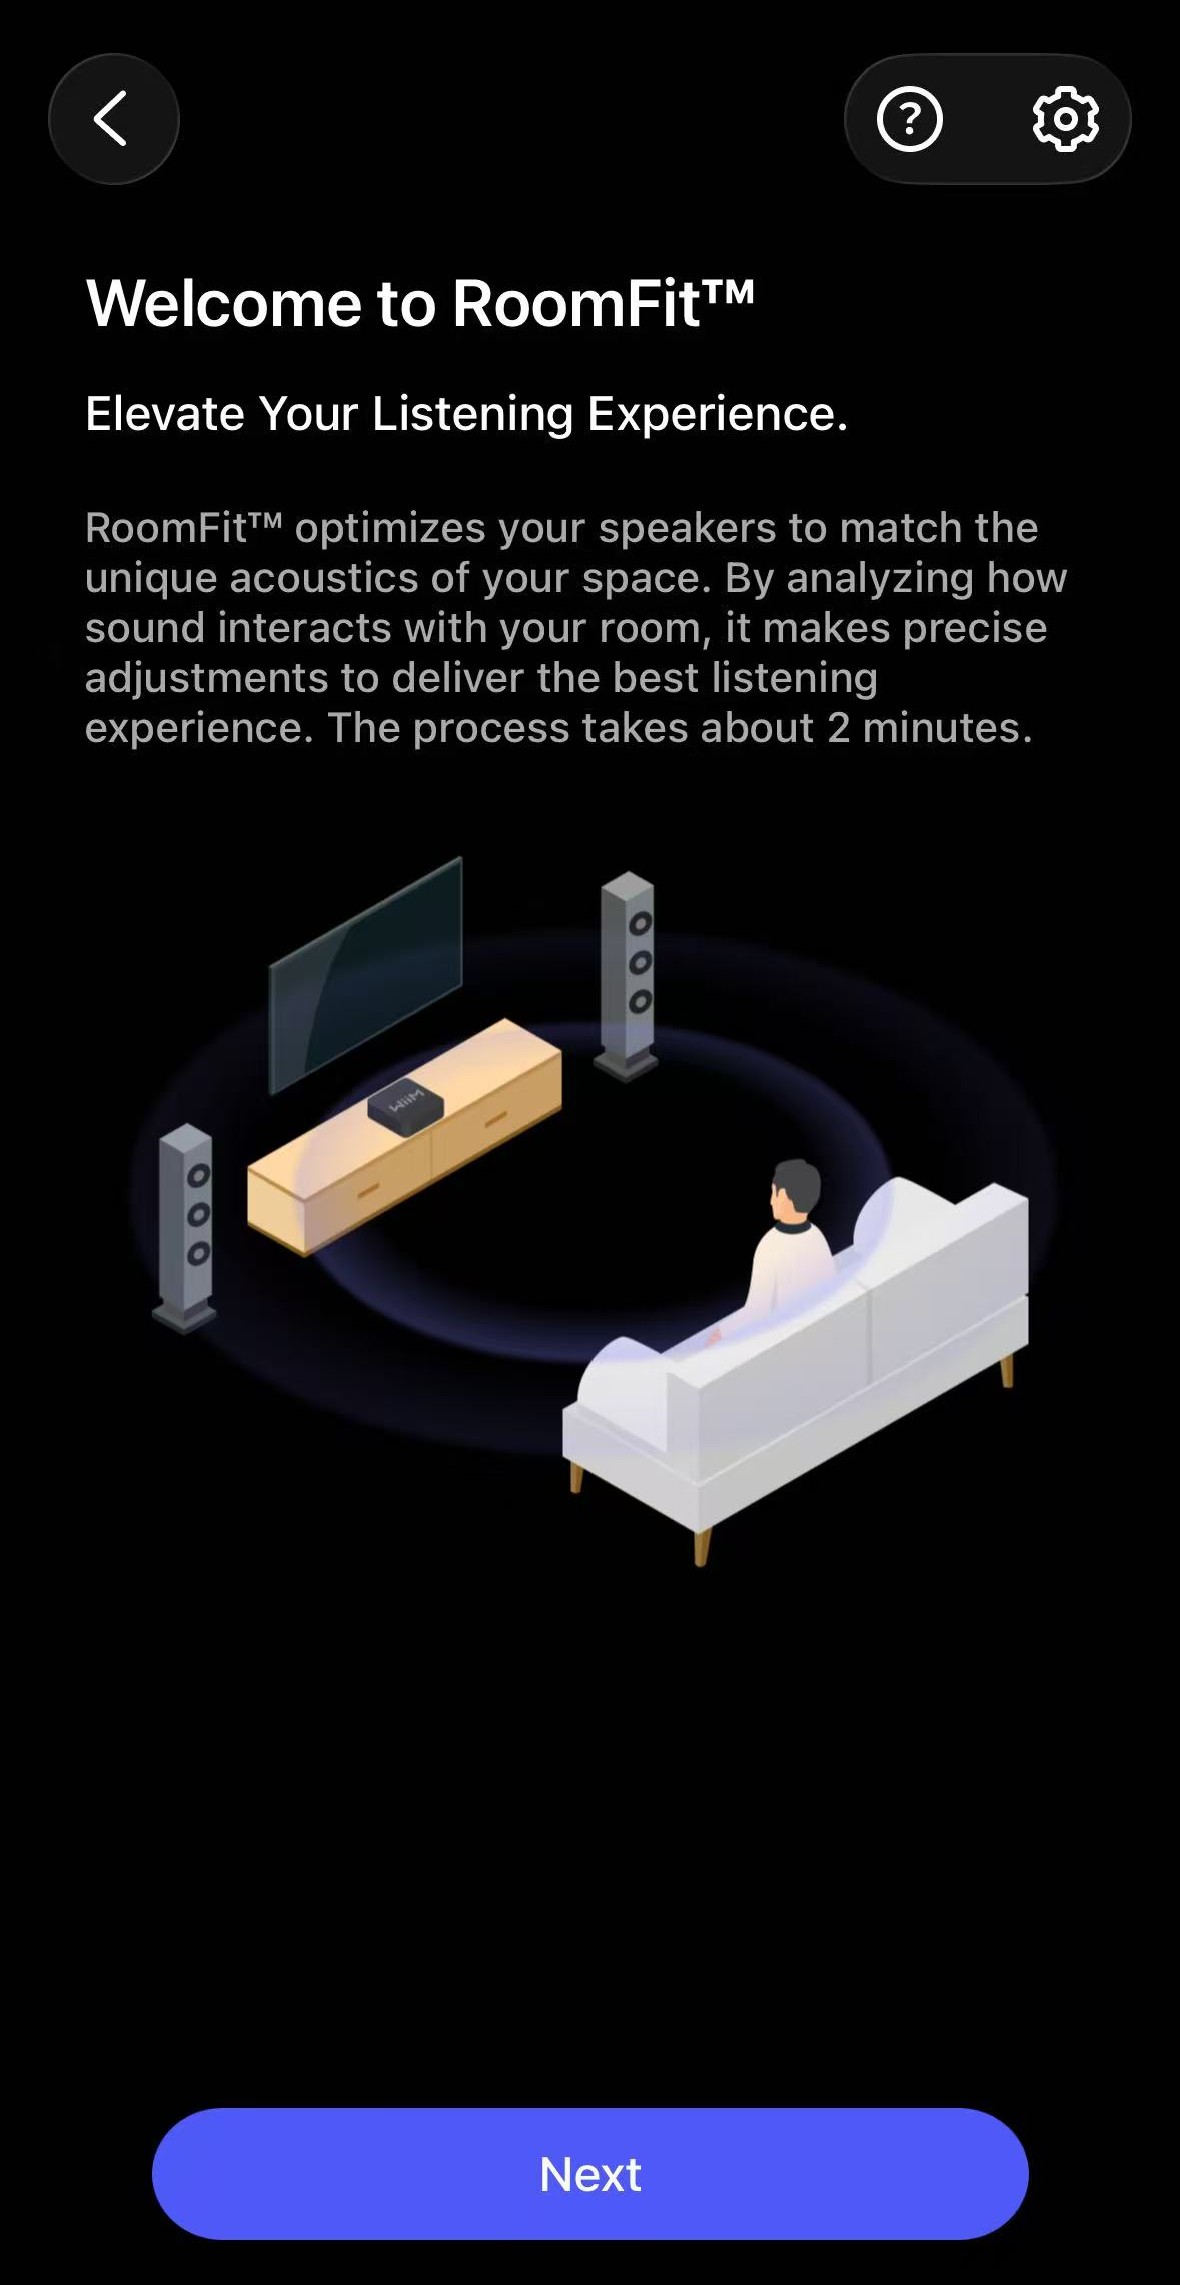
For details, see Introducing RoomFit™ Settings and A Practical Guide to RoomFit™ Room Correction for Enhanced Sound Quality. |
| 4. Start RoomFit™ |
Tap Next to start the RoomFit™ process for the WiiM Bar.
Tip: Follow the prompt to rotate your phone 180°, so the bottom microphone faces the WiiM Bar for accurate measurement.
 |
| 5. Audio check. |
Tap Play Sound to perform an audio check. 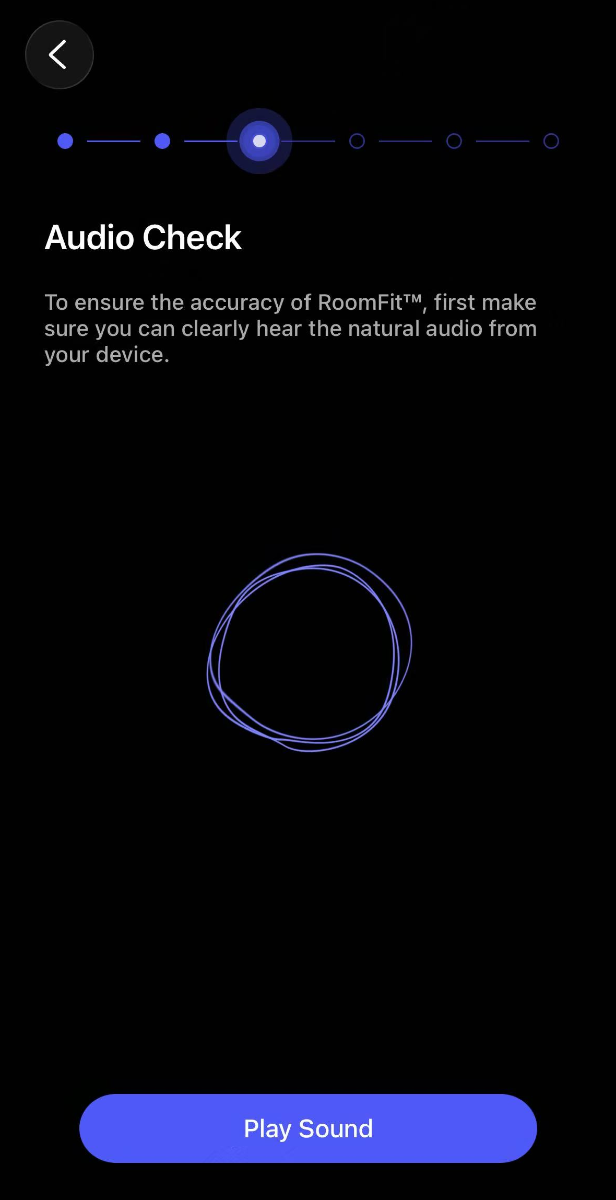 |
| 6. Measure frequency response. |
Tap Start Tuning and follow the on-screen prompts. The WiiM Bar measures the Left (L) and Right (R) channels together and the Center channel separately. Your microphone measures the frequency response of each channel group at your listening position. On the Results Overview screen, switch between the Left & Right and Center tabs to review the results for each channel group using the following curves:
Tap Next to evaluate the effectiveness of the correction. 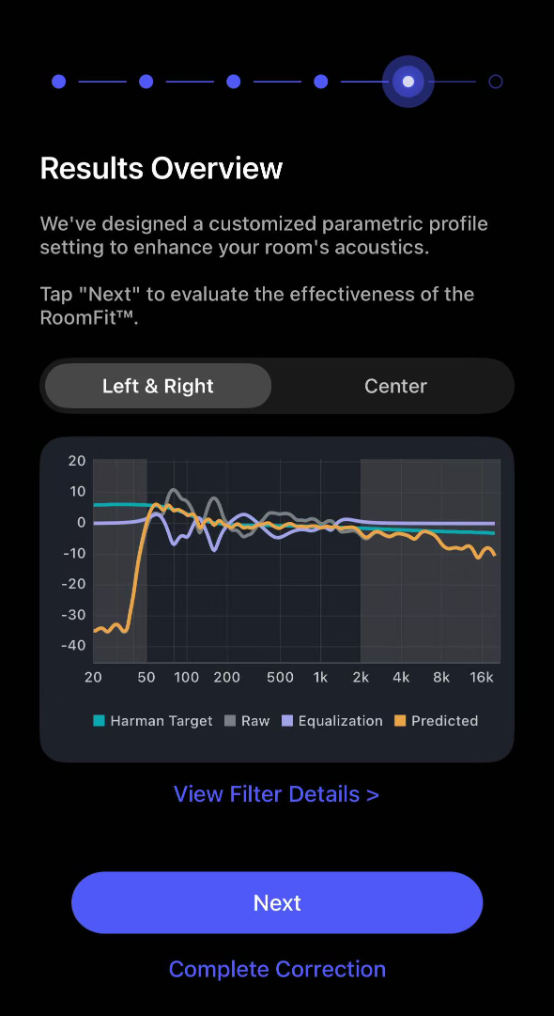 |
| 7. Evaluate results. |
On the Final Assessment screen, switch between the Left & Right and Center tabs to evaluate the correction for each channel group using the following curves:
For each channel group, compare the Actual curve with the Target curve within the adjustable frequency range. Once you are satisfied with the results for both groups, tap Apply Correction to proceed. If there are large differences for either channel group, tap Adjust Again to re-run RoomFit™ on the WiiM Bar. 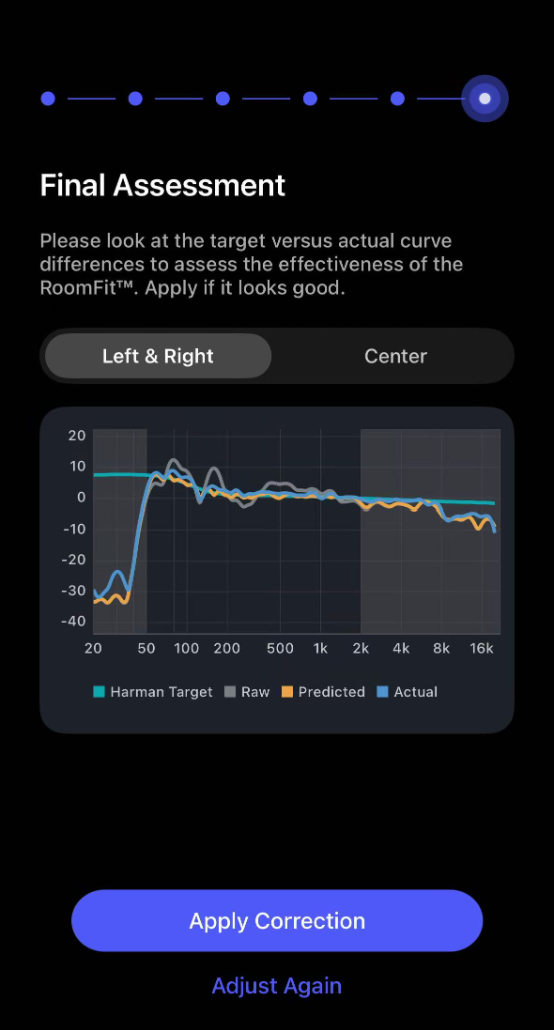 |
| 8. Save results. |
Tap Save Profile to save the RoomFit™ results as a custom profile. Alternatively, tap Skip to save the results to the Auto profile. |
| 9. Finish. |
Tap Done to finish the RoomFit™ process. 
Note: Once the RoomFit™ process is completed, the saved profile will be automatically applied to all input sources, so you do not need to perform it separately for each one.
|
 > RoomFit™.
Tips
- Troubleshooting: If you experience issues during the RoomFit™ process, refer to How to Resolve Common Errors in RoomFit™ Room Correction.
- External microphone: You can use an external microphone for RoomFit™ to improve measurement accuracy. For details, see Using an External Microphone for RoomFit™ Room Correction.
- RoomFit™ Parameters and Practical Guide: See Introducing RoomFit™ Settings and A Practical Guide to RoomFit™ Room Correction for Enhanced Sound Quality.