
TABLE OF CONTENTS
Overview
WiiM Amp, WiiM Amp Pro, WiiM Amp Ultra, and WiiM Ultra support the advanced USB Media Library feature. When you connect a USB storage drive to your WiiM device, it scans the drive and organizes your music into an easy-to-browse library.
This feature is especially useful for large music collections, helping you discover and play music faster.
Summary
To help you quickly understand this feature, here's a summary of what it offers:
- Automatic Organization
Automatically categorizes your music into Albums, Artists, Composers, Tracks, Playlists, Genres, and Folders. For details, see Build USB Media Library. - Custom Sorting & Views
Allows you to sort by specific criteria (like Title, Artist, or Album) and toggle between List and Grid views. For details, see Browse USB Media Library. - Advanced Search
Search for specific content and filter results by categories. For details, see Search in USB Media Library. - Library Management
Includes options to normalize playback volume, rescan for new or deleted files, and safely eject the USB disk. For details, see Manage USB Media Library. - Album Artwork & Network Access
Customize album artwork and access the library from other devices on the same network. For details, see Album Artwork & Network Access.
Build USB Media Library
Before You Begin
To ensure a smooth setup of your USB media library, please check the following:
- File System Compatibility: Ensure your USB drive is formatted in: FAT32, exFAT, NTFS, EXT4, or VFAT.
- Storage Reserve (5%): Your USB drive must have at least 5% available space for indexing files.
Step-by-Step Instructions
Steps:
- Insert your USB drive into the USB port of your WiiM device.
- Open the WiiM Home App.
- Go to the Browse tab, and tap USB in the Source Inputs section.
- Tap the Scan Now button to start scanning your USB drive.
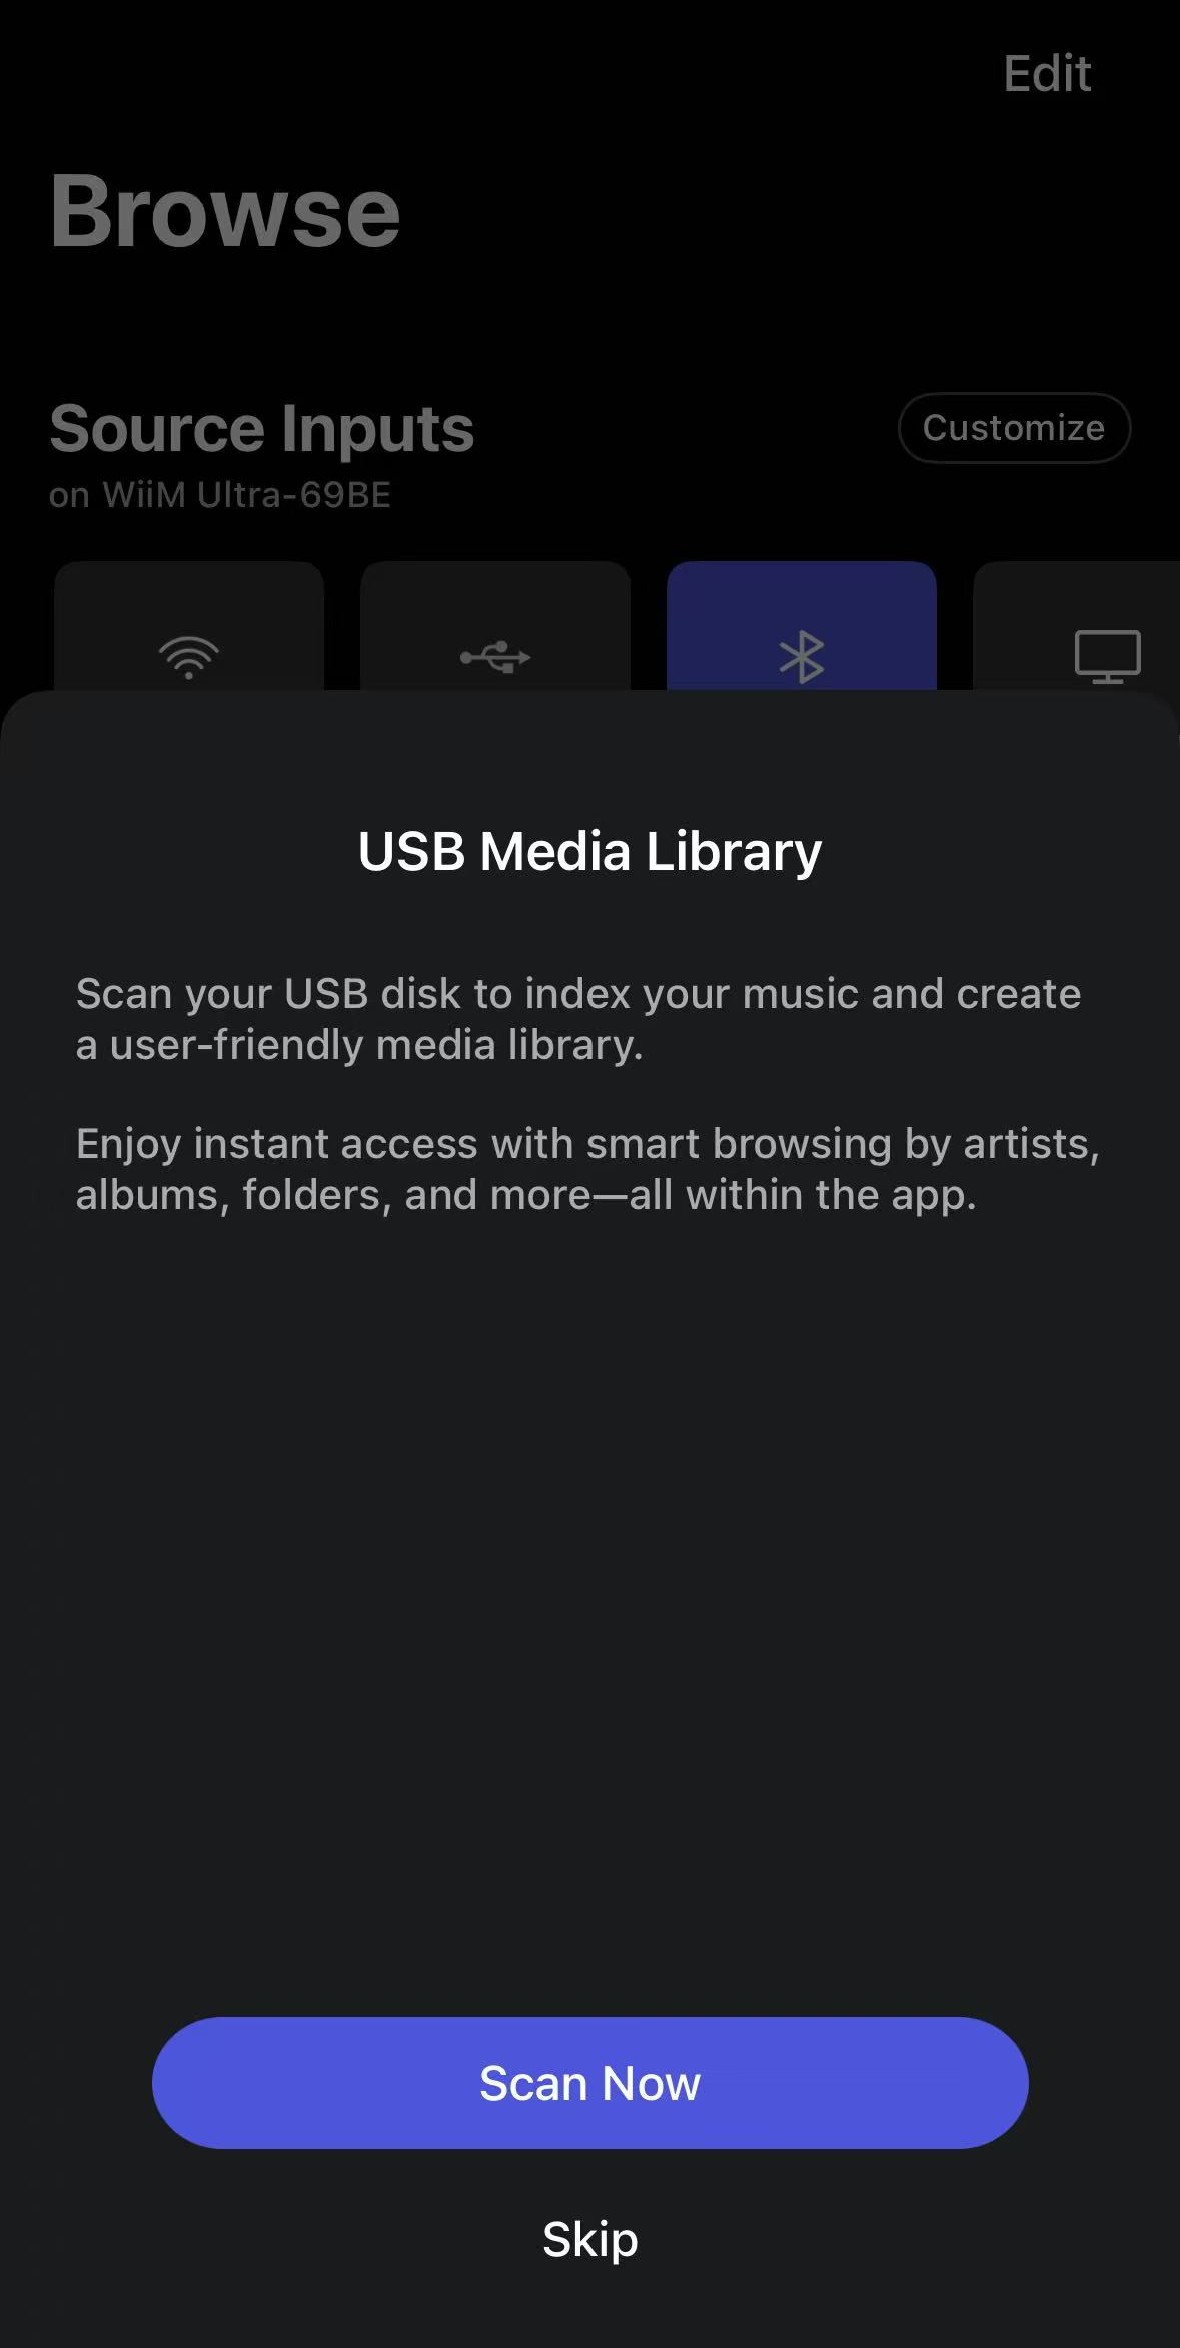 Tip: During scanning, the estimated time will be displayed automatically. You can continue using the app or even close it, and the scan will continue in the background until it is complete.
 - Once the scan is complete, tap the Let's Get Started button to start browsing your USB Media Library.
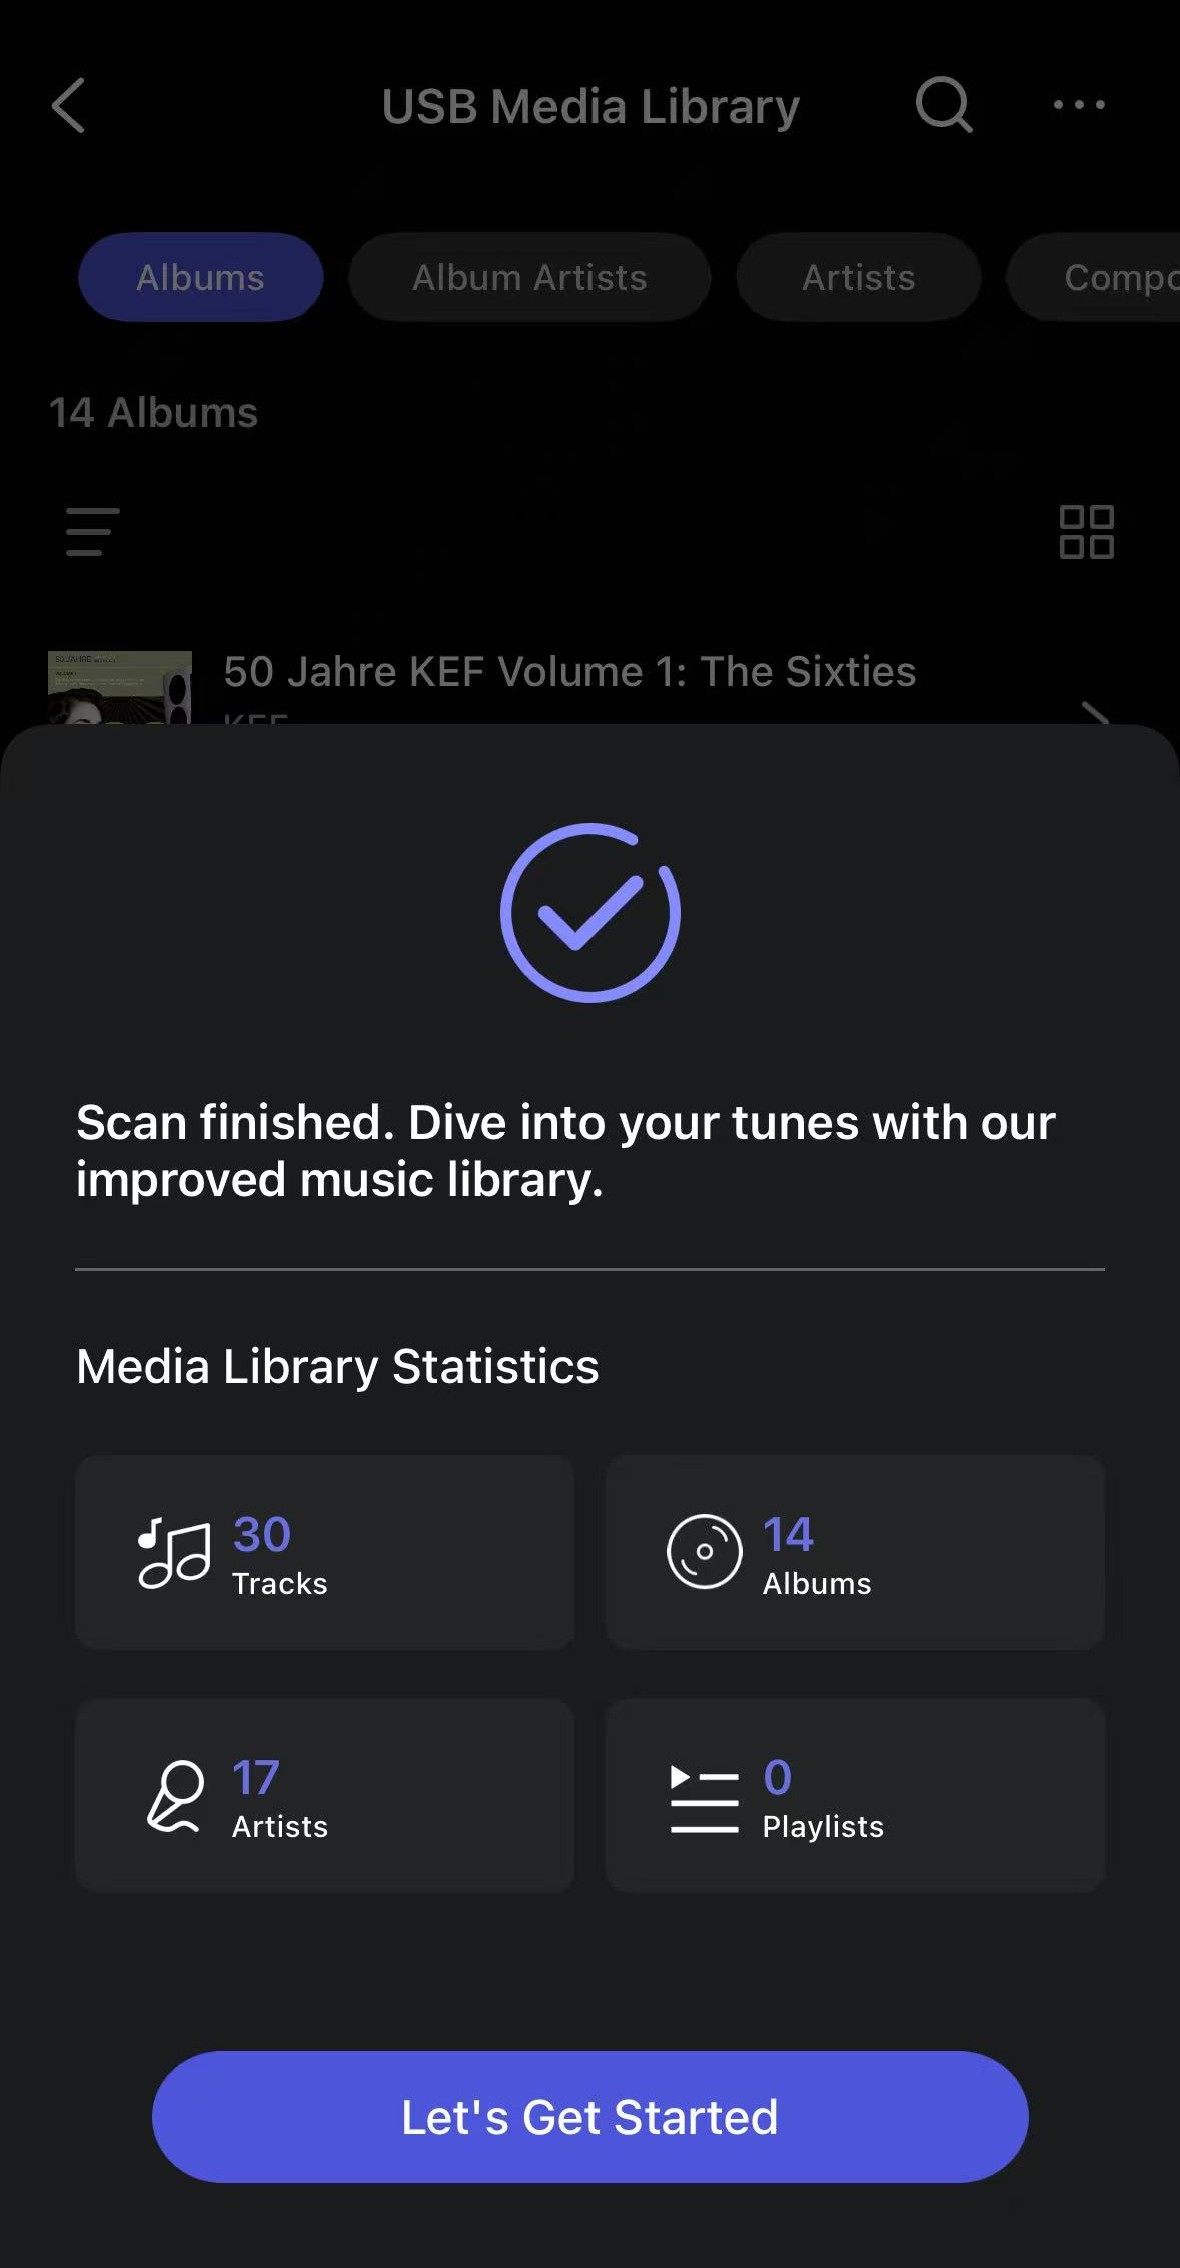
If the scan fails, see Troubleshooting Common USB Drive Scan Issues on WiiM Devices for solutions.
If some tracks are missing from your USB Media Library, free up space on the USB drive to ensure at least 5% of the storage is available, then rescan the drive. If the issue persists, delete the wiim_cache folder on the USB drive and rescan again.
Browse USB Media Library
Once USB Media Library is successfully built, your music resources are automatically organized into the following categories:
- Albums
- Artists
- Composers
- Tracks
- Playlists
- Genres
- Folders
You can select a category, then sort and view music in your preferred way.
Sort Music
Steps:
- Select a category.
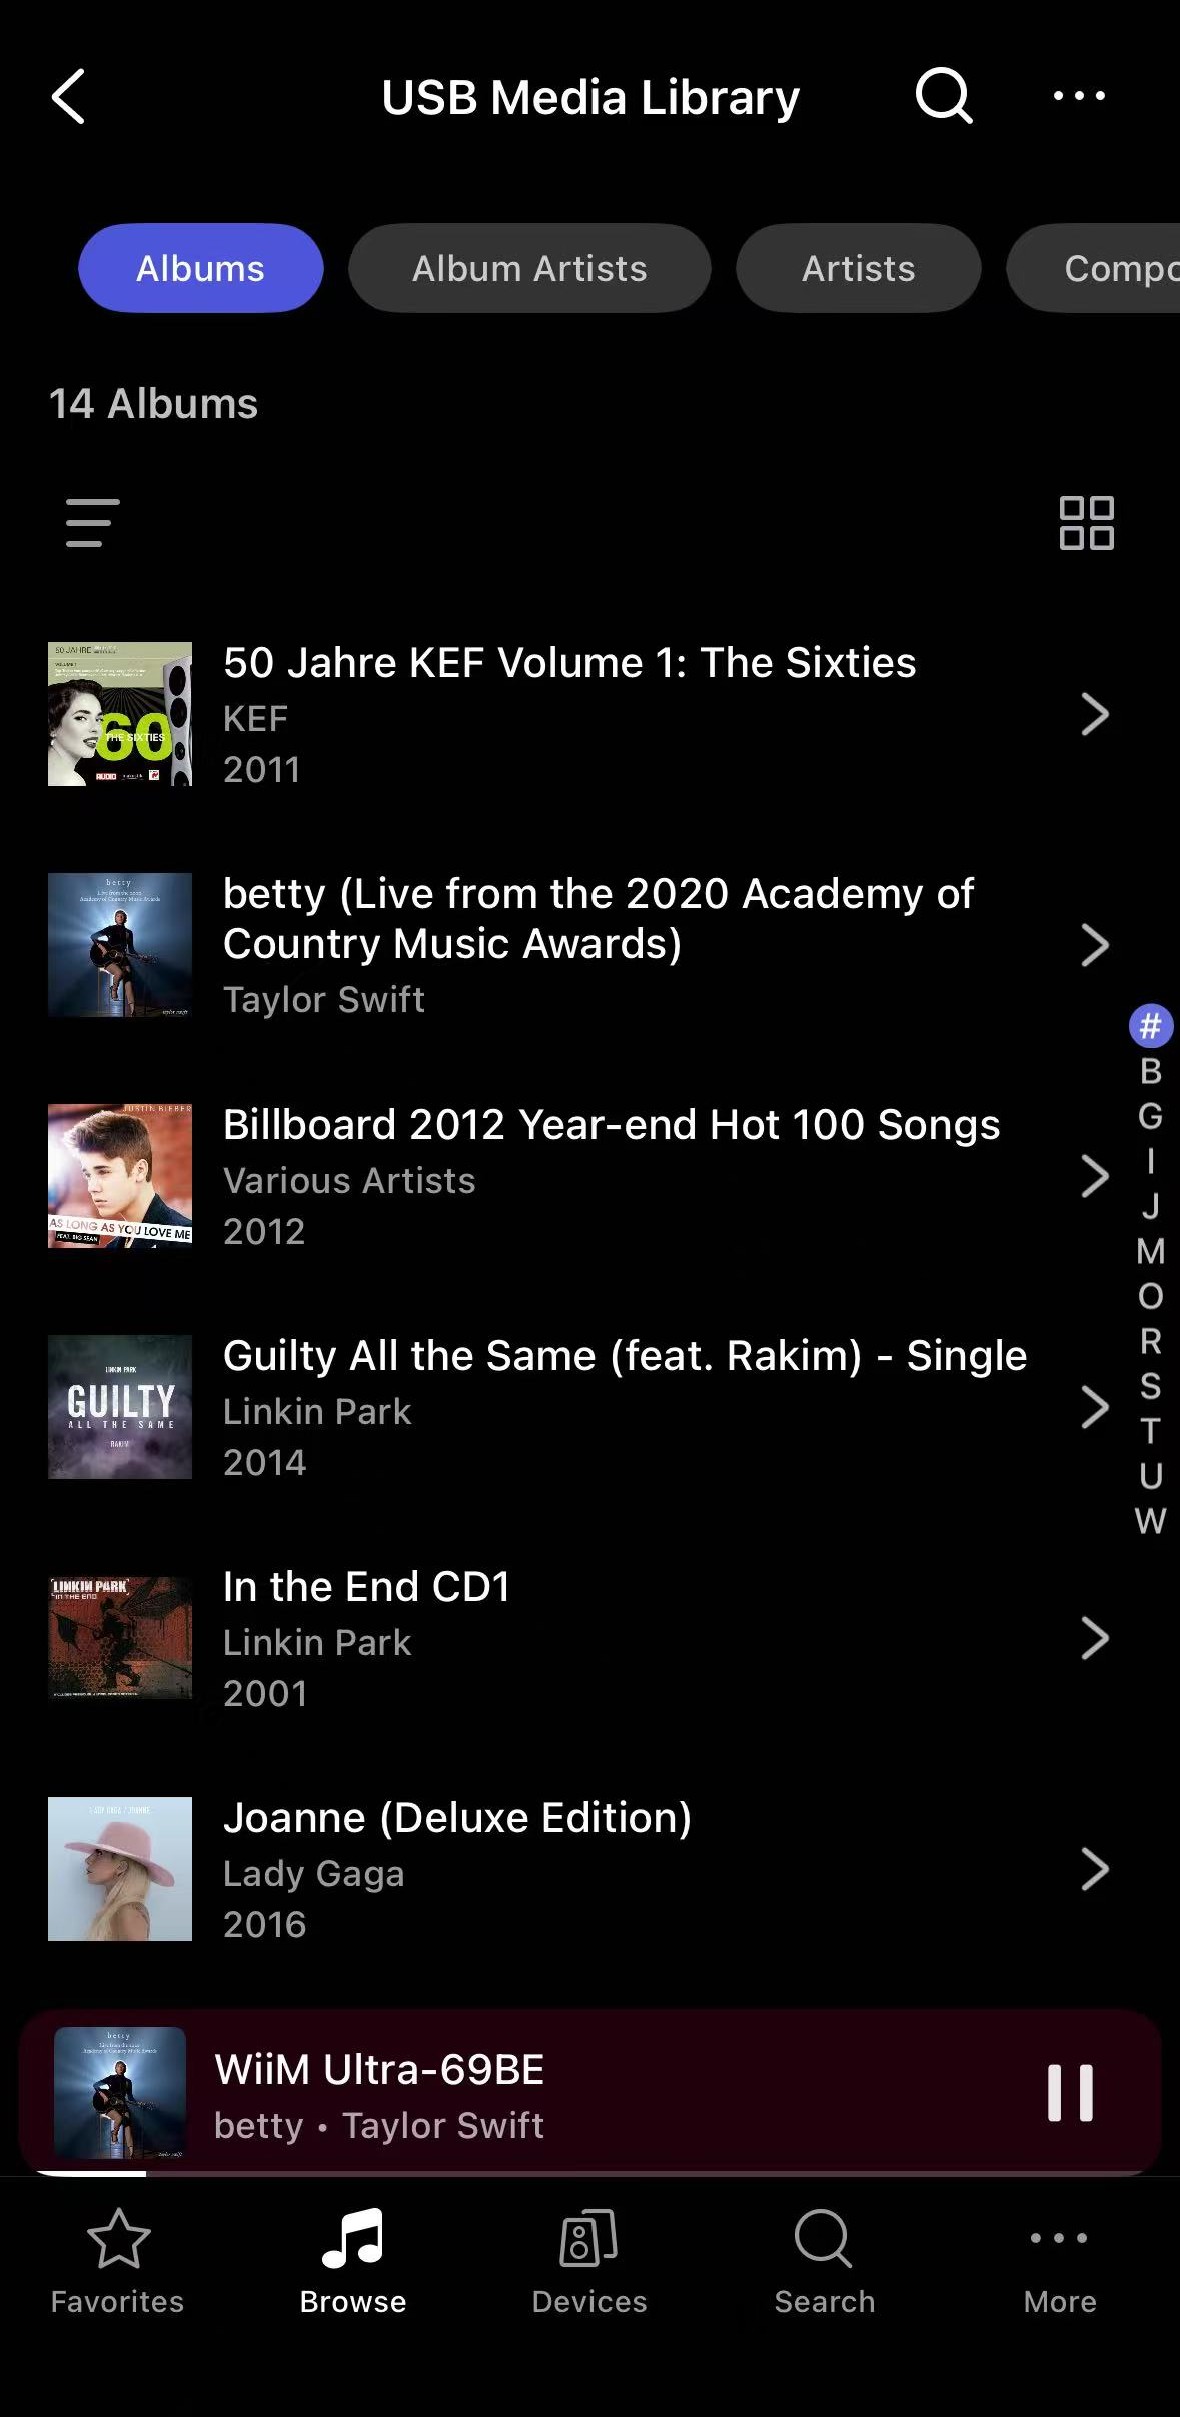
- Tap the Sorting icon
 on the top-left of the screen.
 - Choose your preferred sorting option such as Title, Artist, or Year.
Switch List and Grid Views
Steps:
- Select a category.
- Tap the List icon
 or the Grid icon
  to switch the view.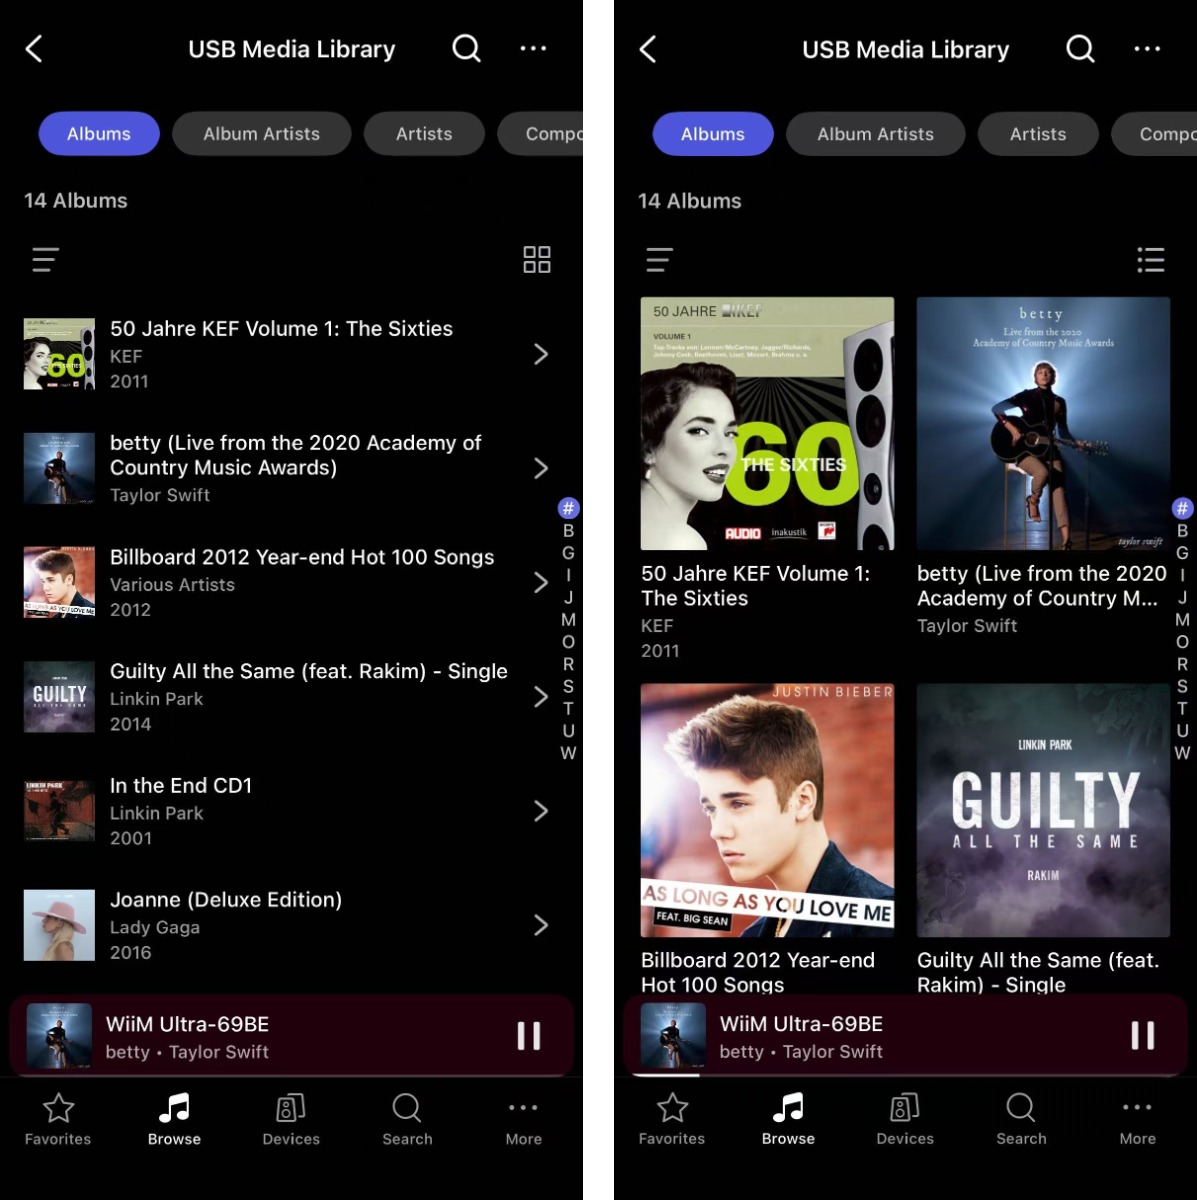
Search in USB Media Library
Steps:
- Tap the Search icon
 on the top of the USB Media Library.
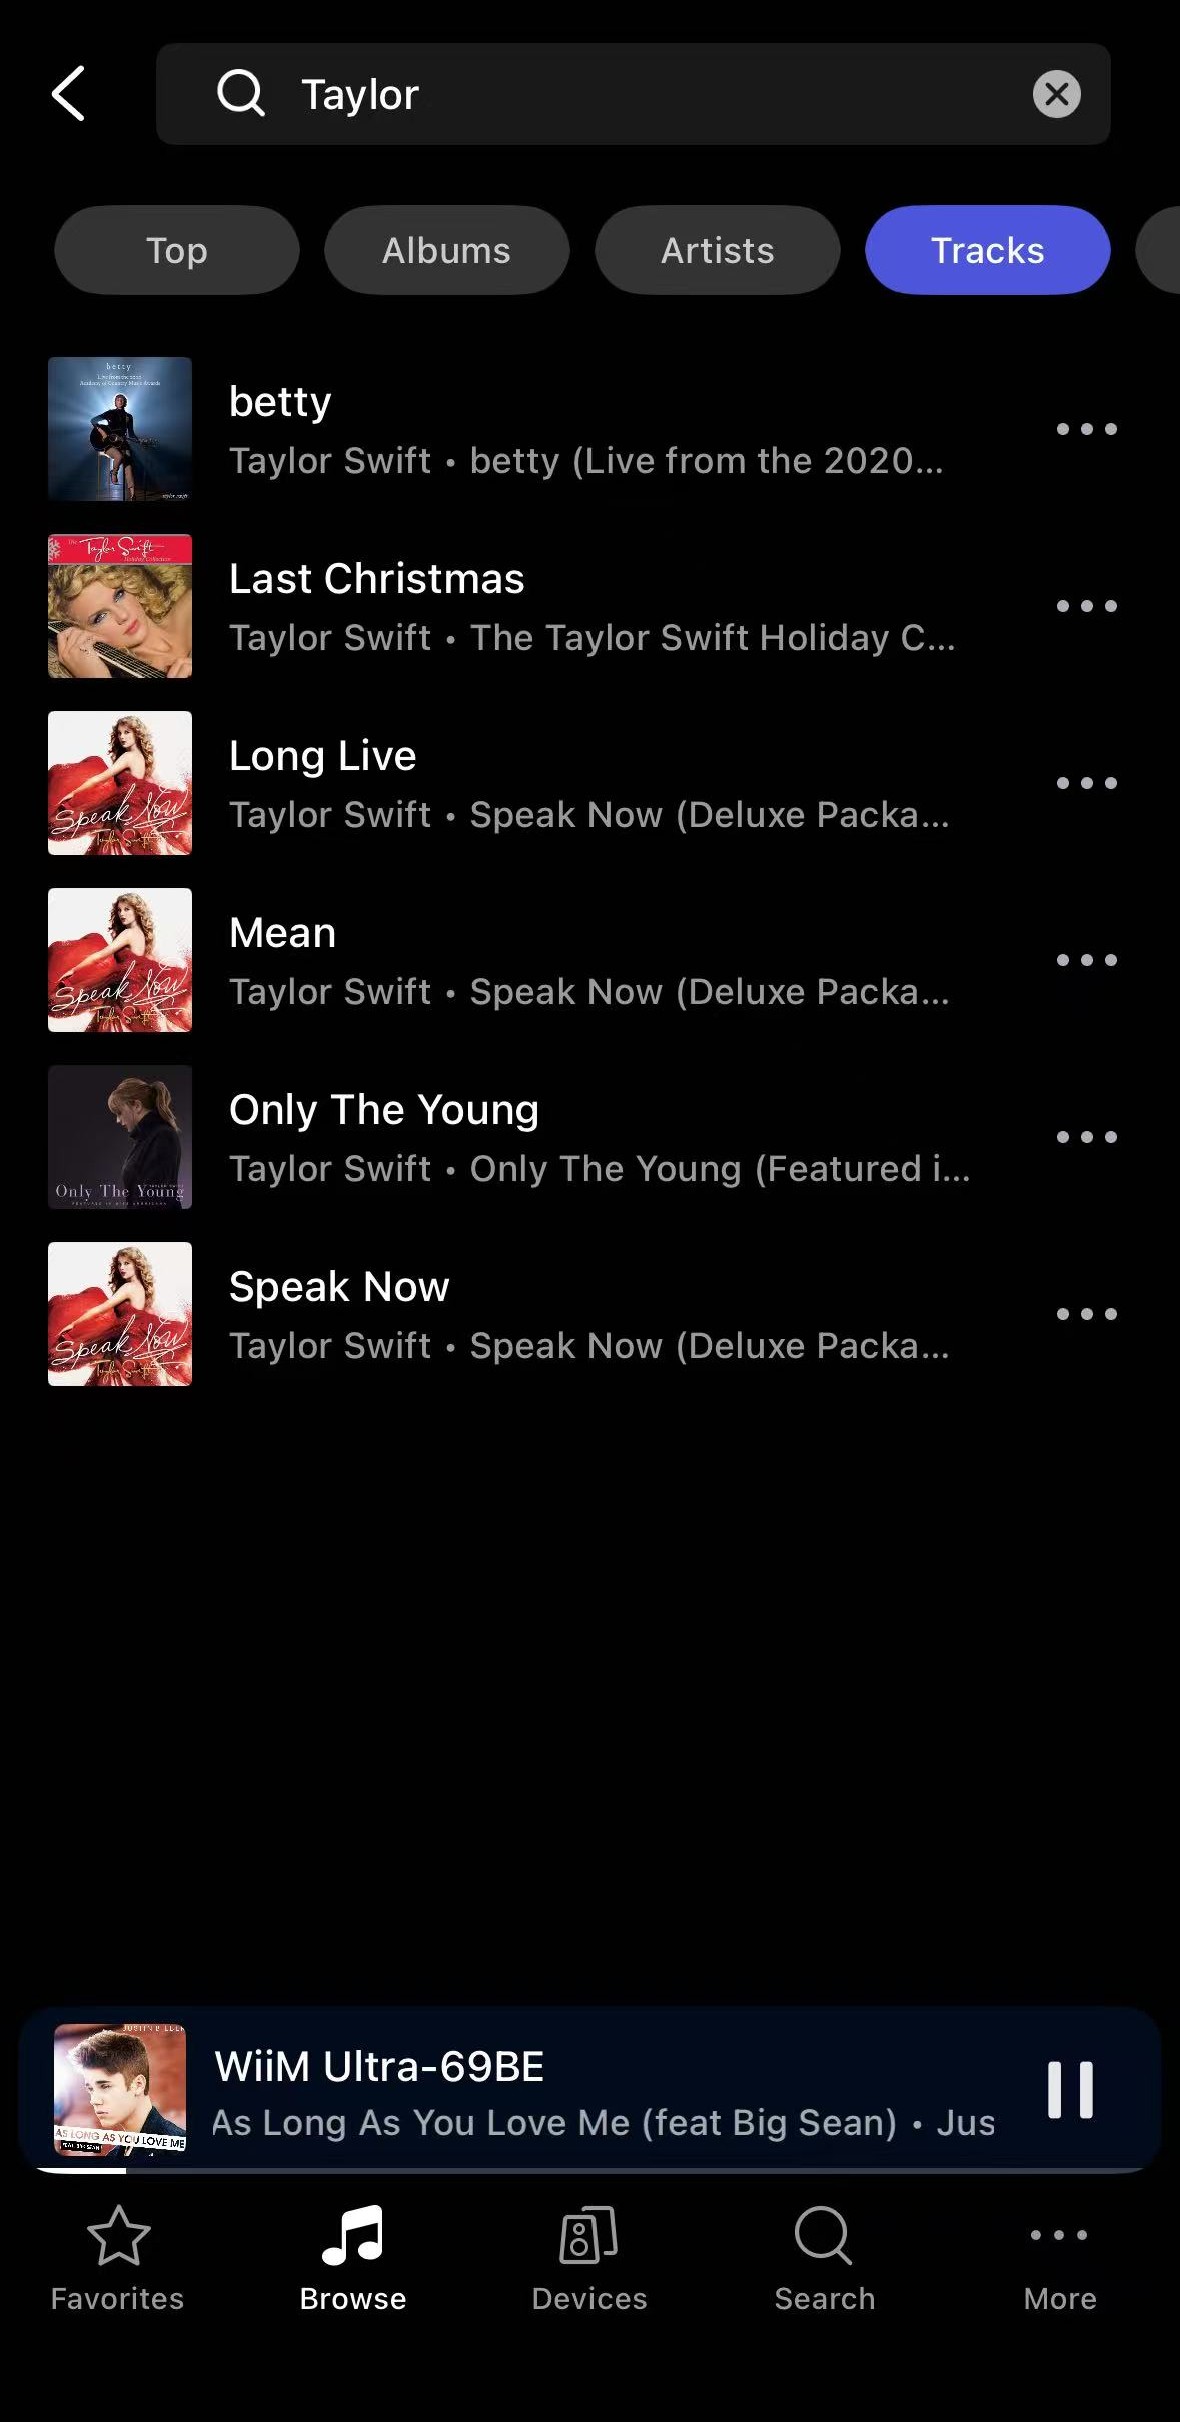
 - Type your music information to start the search.
- Choose criteria (Top, Tracks, Albums, Artists, or Playlists) to filter the search result.
Manage USB Media Library
Tap the More (...) button in the top-right corner to access library management options.
- Replay Gain
This option is used to normalize playback volume across your music tracks, ensuring consistent levels and providing a smoother listening experience. For details, see Best Practices for Using a USB Music Library. - Rescan USB Disk
Once your music is added or deleted, use one of these options to keep your USB Media Library up to date:- Quick Scan: Scans only added or removed songs. Ideal for daily updates (much faster).
- Full Scan: Scans the entire USB drive. Best for a fresh start or fixing issues (takes more time).
- Eject USB Disk
This option is used to safely remove the USB disk from your WiiM device. Use it before you unplug the USB disk.
Album Artwork & Network Access
Album Artwork
The USB Media Library supports album artwork display for individual albums. You can also add custom artwork to specific albums.
For details, see Best Practices for Using a USB Music Library and How to Add Custom Album Artwork in Your USB Music Library.
Network Access
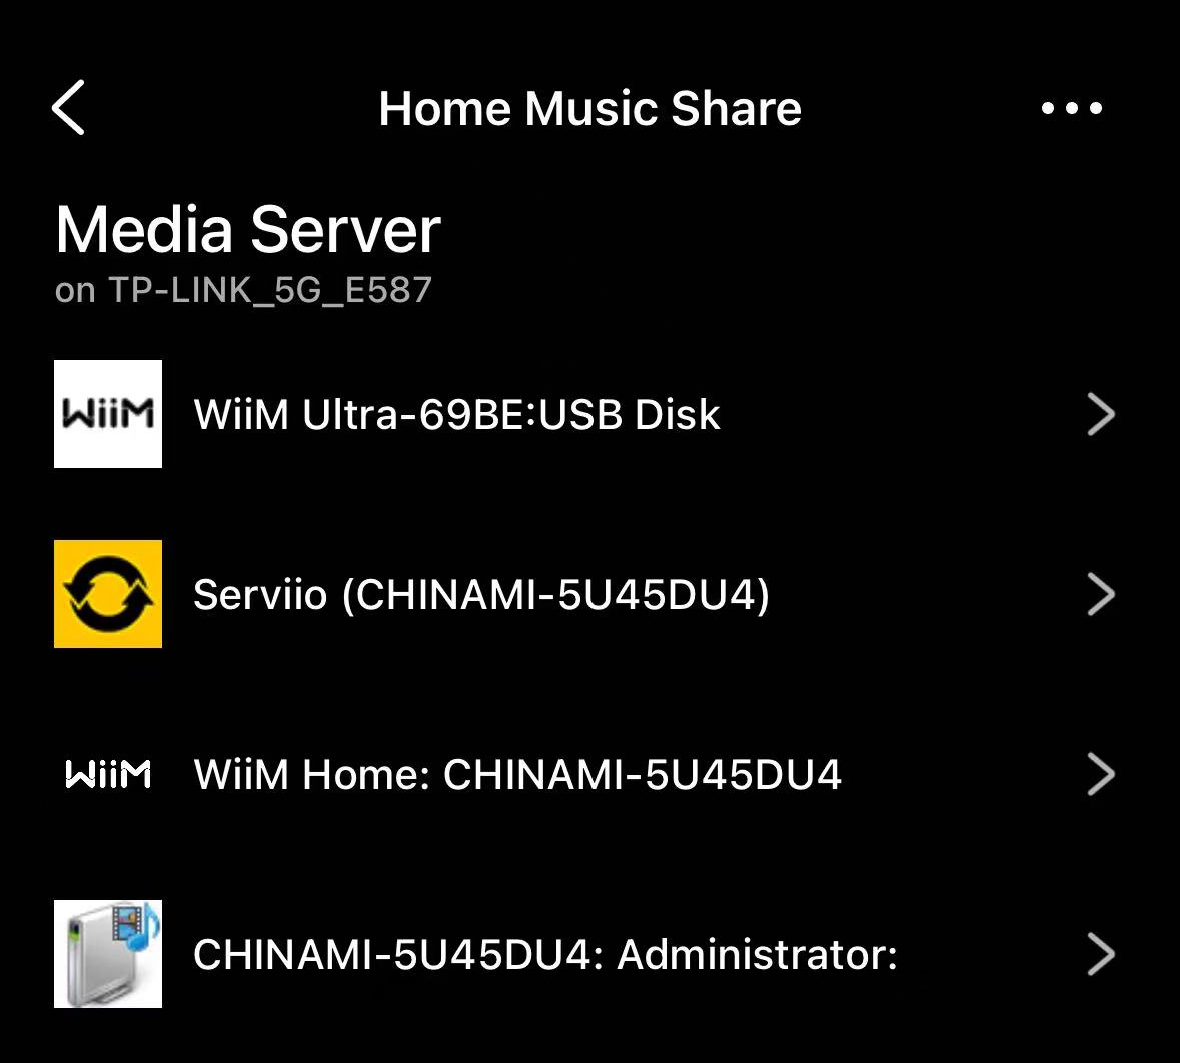
After a successful scan, the connected WiiM device will automatically act as a media server, sharing the library across the network.
Other WiiM and DLNA-compatible devices on the same network can access the library from Home Music Share in the WiiM Home app.
Known Issues
We have received feedback from our customers and identified the following known issues, which we are actively working to address:
- Playing Queue Limit: The maximum number of tracks in the playing queue is currently limited to 3000. We plan to increase this limit in a future update.
- Slow Scanning: Scanning can take longer than expected with certain USB drives, such as SanDisk USB 3.2 Gen 1.
- USB Scanning Exceptions: An unexpected error may occur when scanning USB drives.